How to Get Better High ISO Images from Your Camera and Smartphone
If you’re having trouble shooting photos in low light and getting bad high ISO images, then consider the following.
Since the inception of digital photography, manufacturers have turned high ISO capabilities into a war. It’s typically those weird specks, grain, or discolored images that you see. Getting rid of it arguably started many years ago when Canon introduced the Canon 40D and the Canon 5D. Nikon took it further with the Nikon D300, D3, and the D700. Then everyone else jumped into the game. And as megapixel counts have gone up, the problem with high ISO noise has continued. We’ve compiled our expertise from shooting for over a decade into this one blog post to tell you folks really clearly how you can get better high ISO images.
Overexpose the Scene
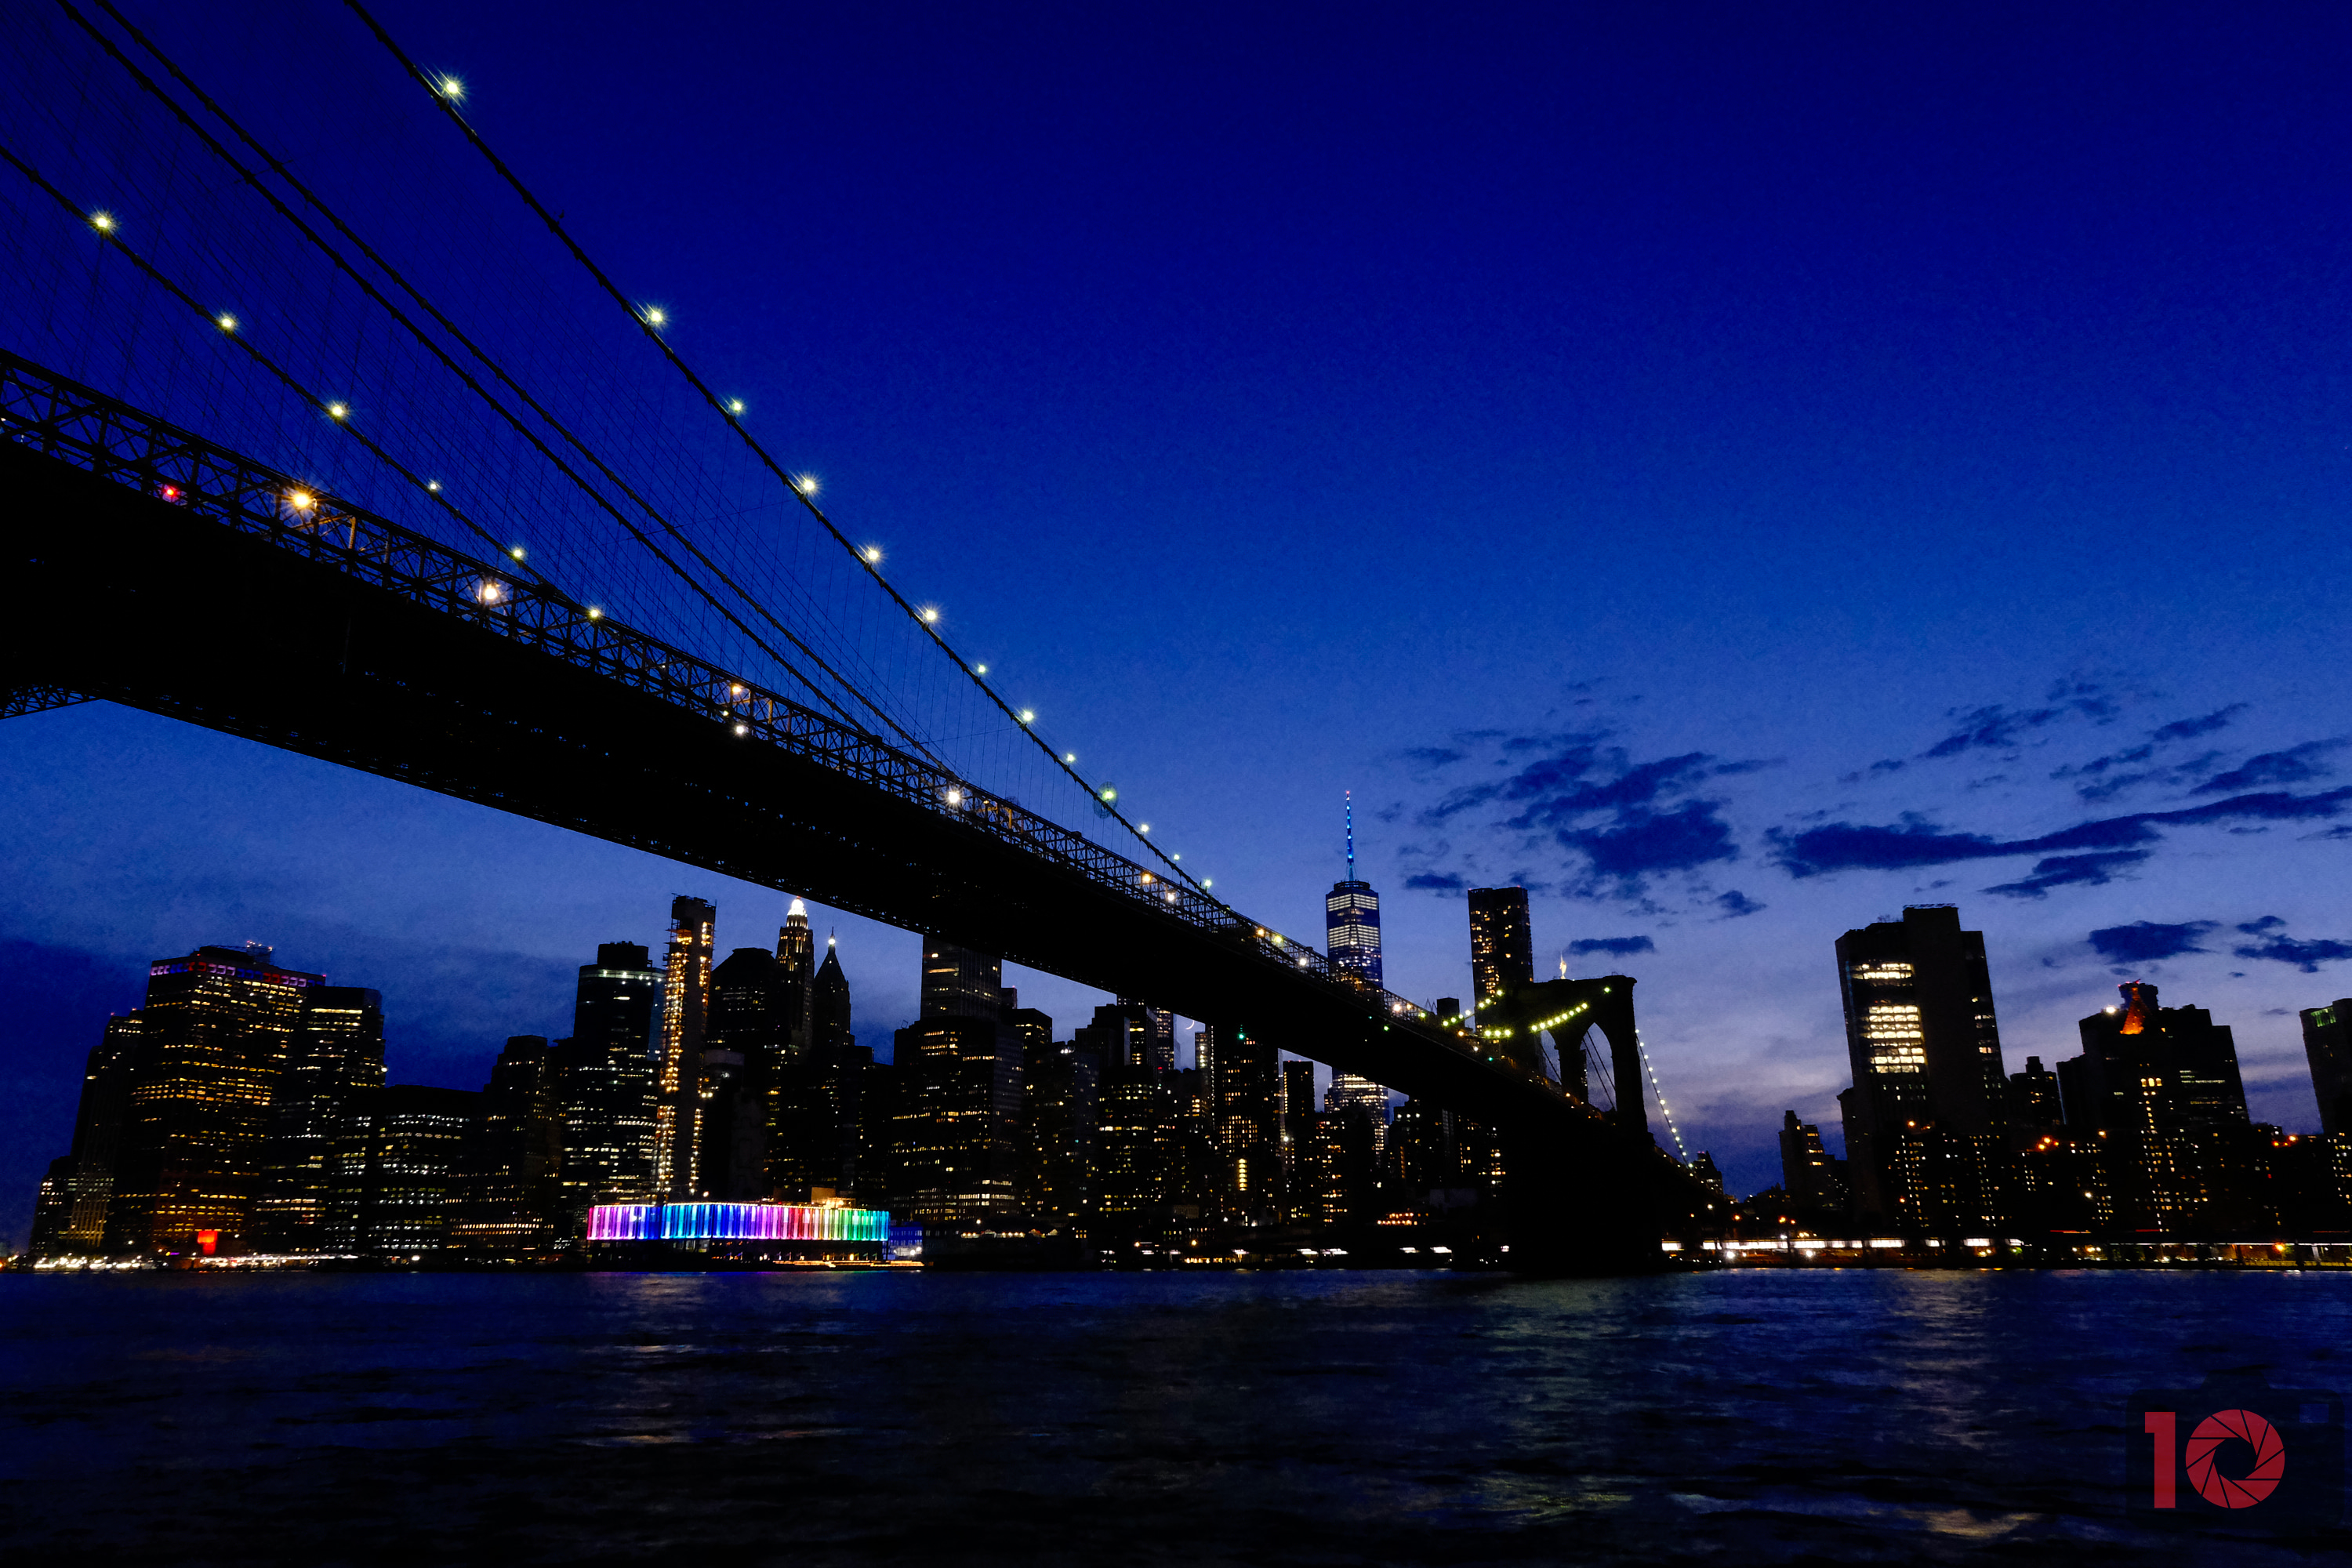
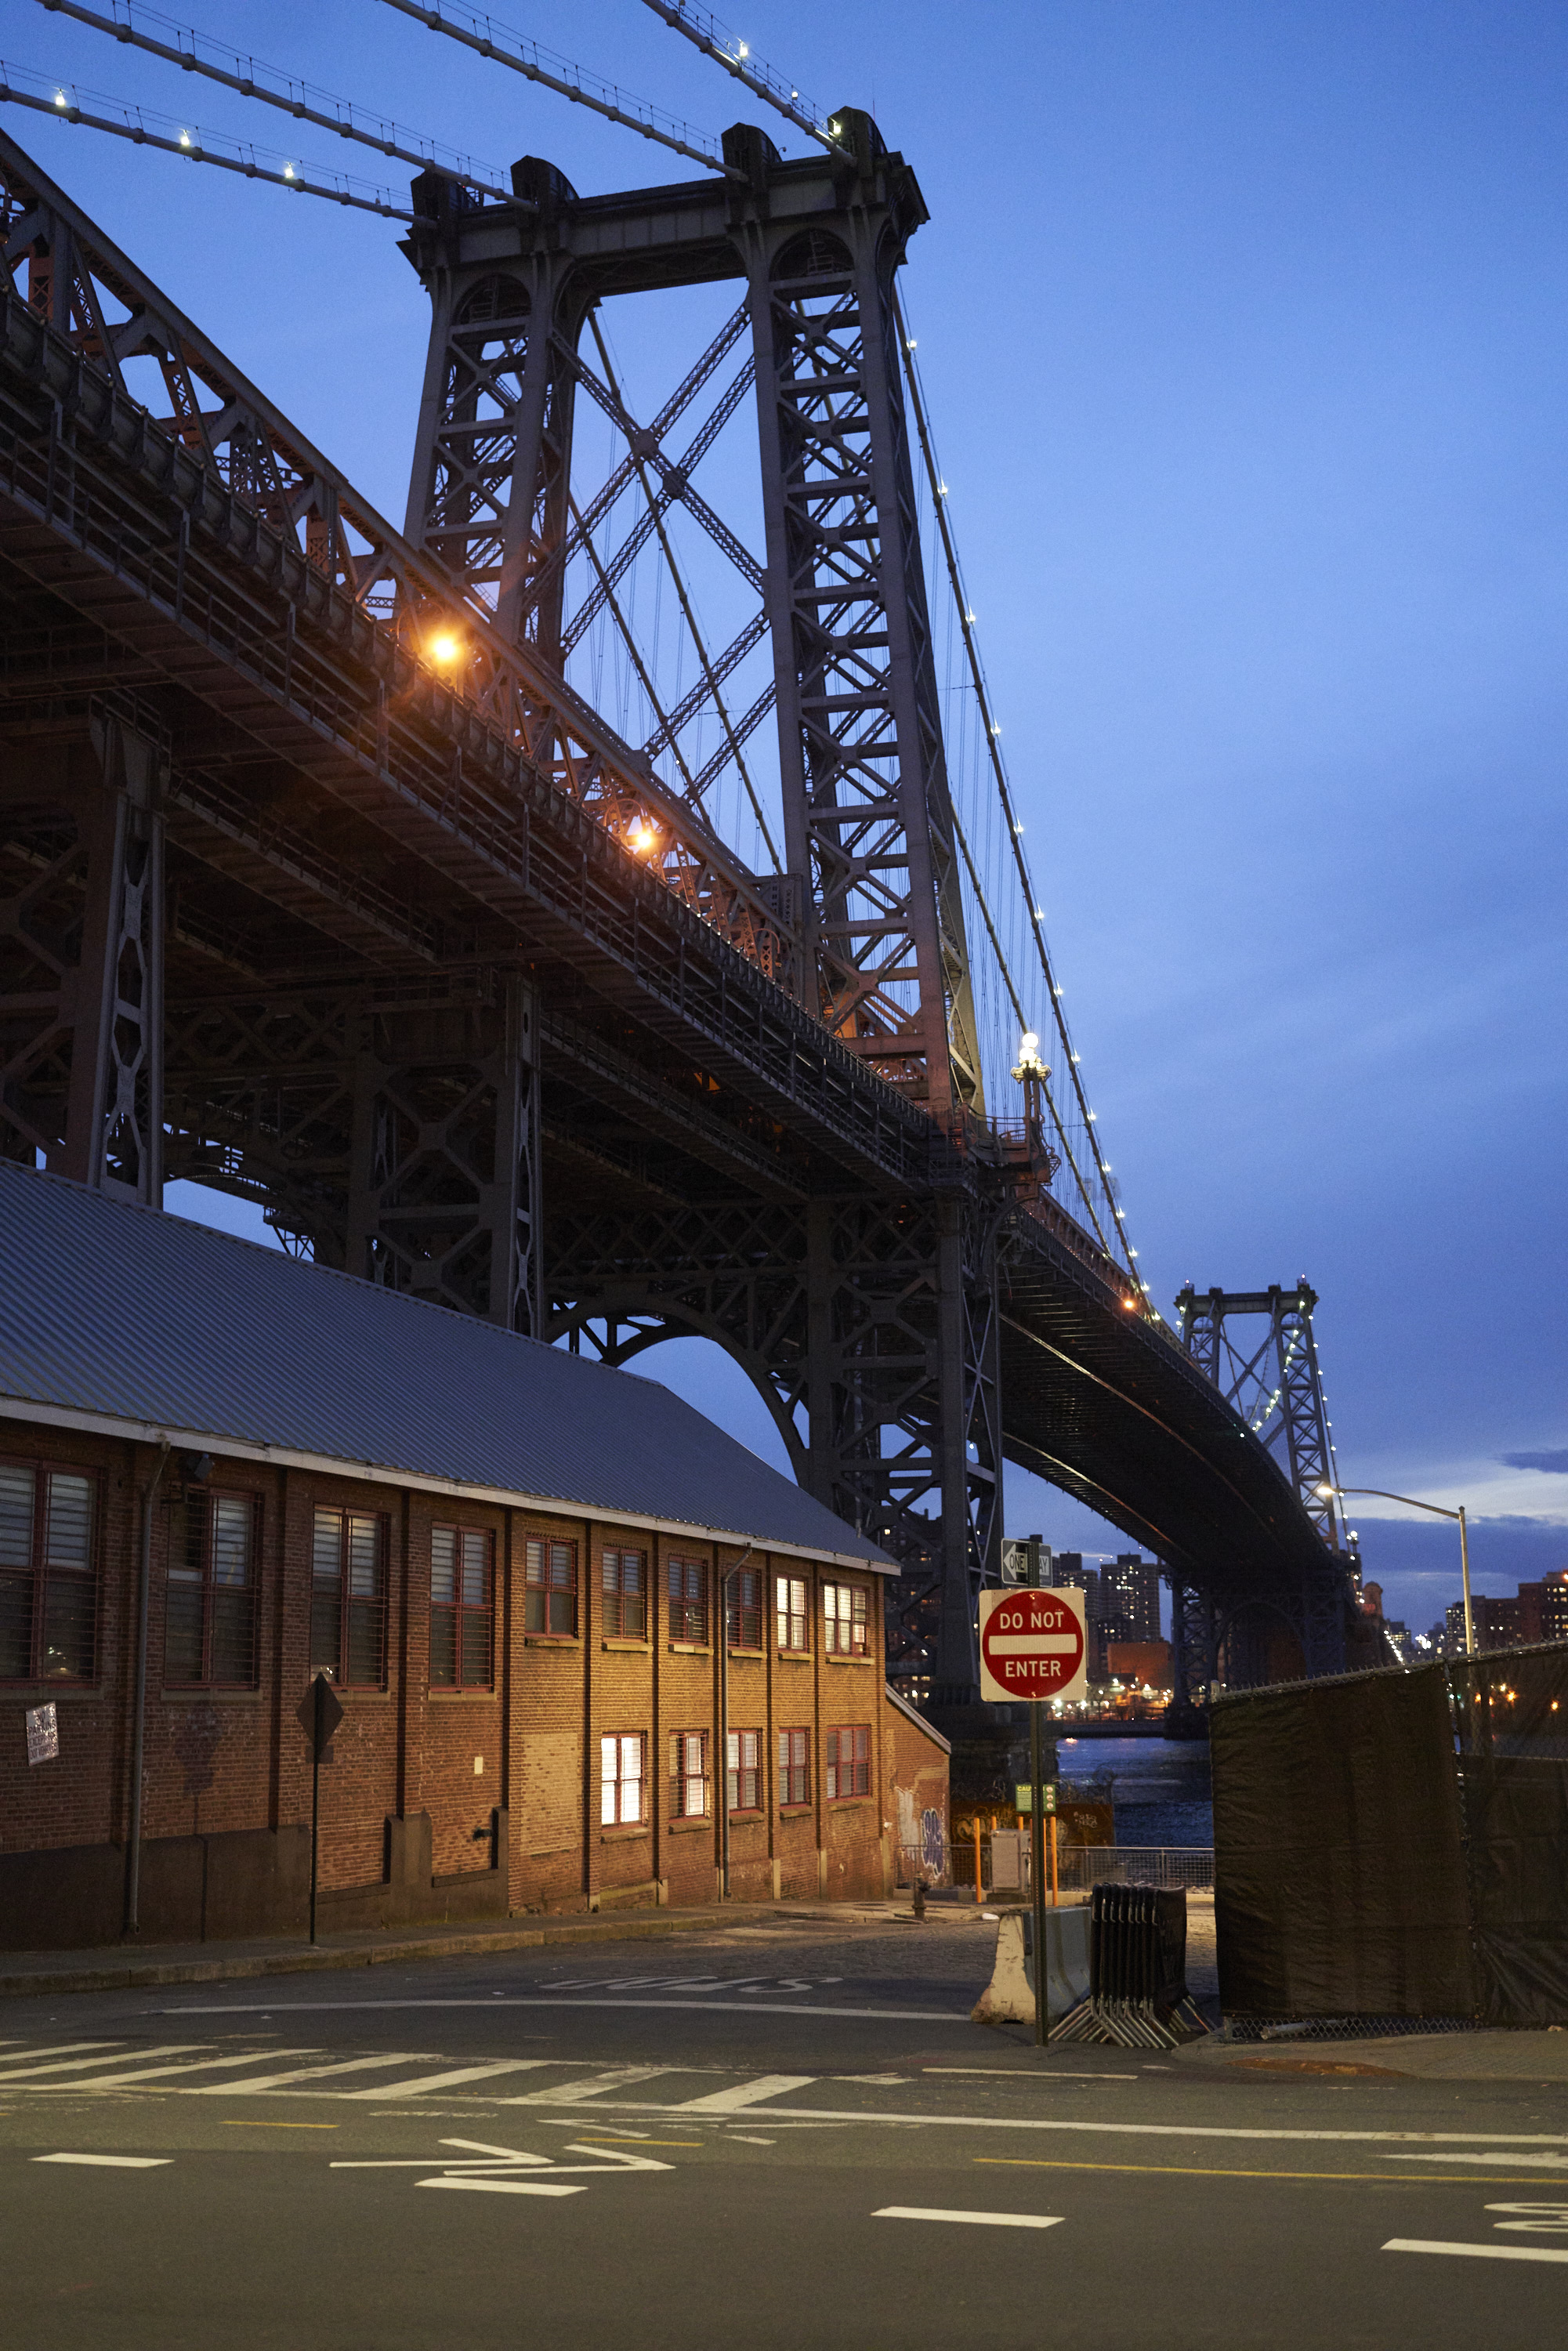
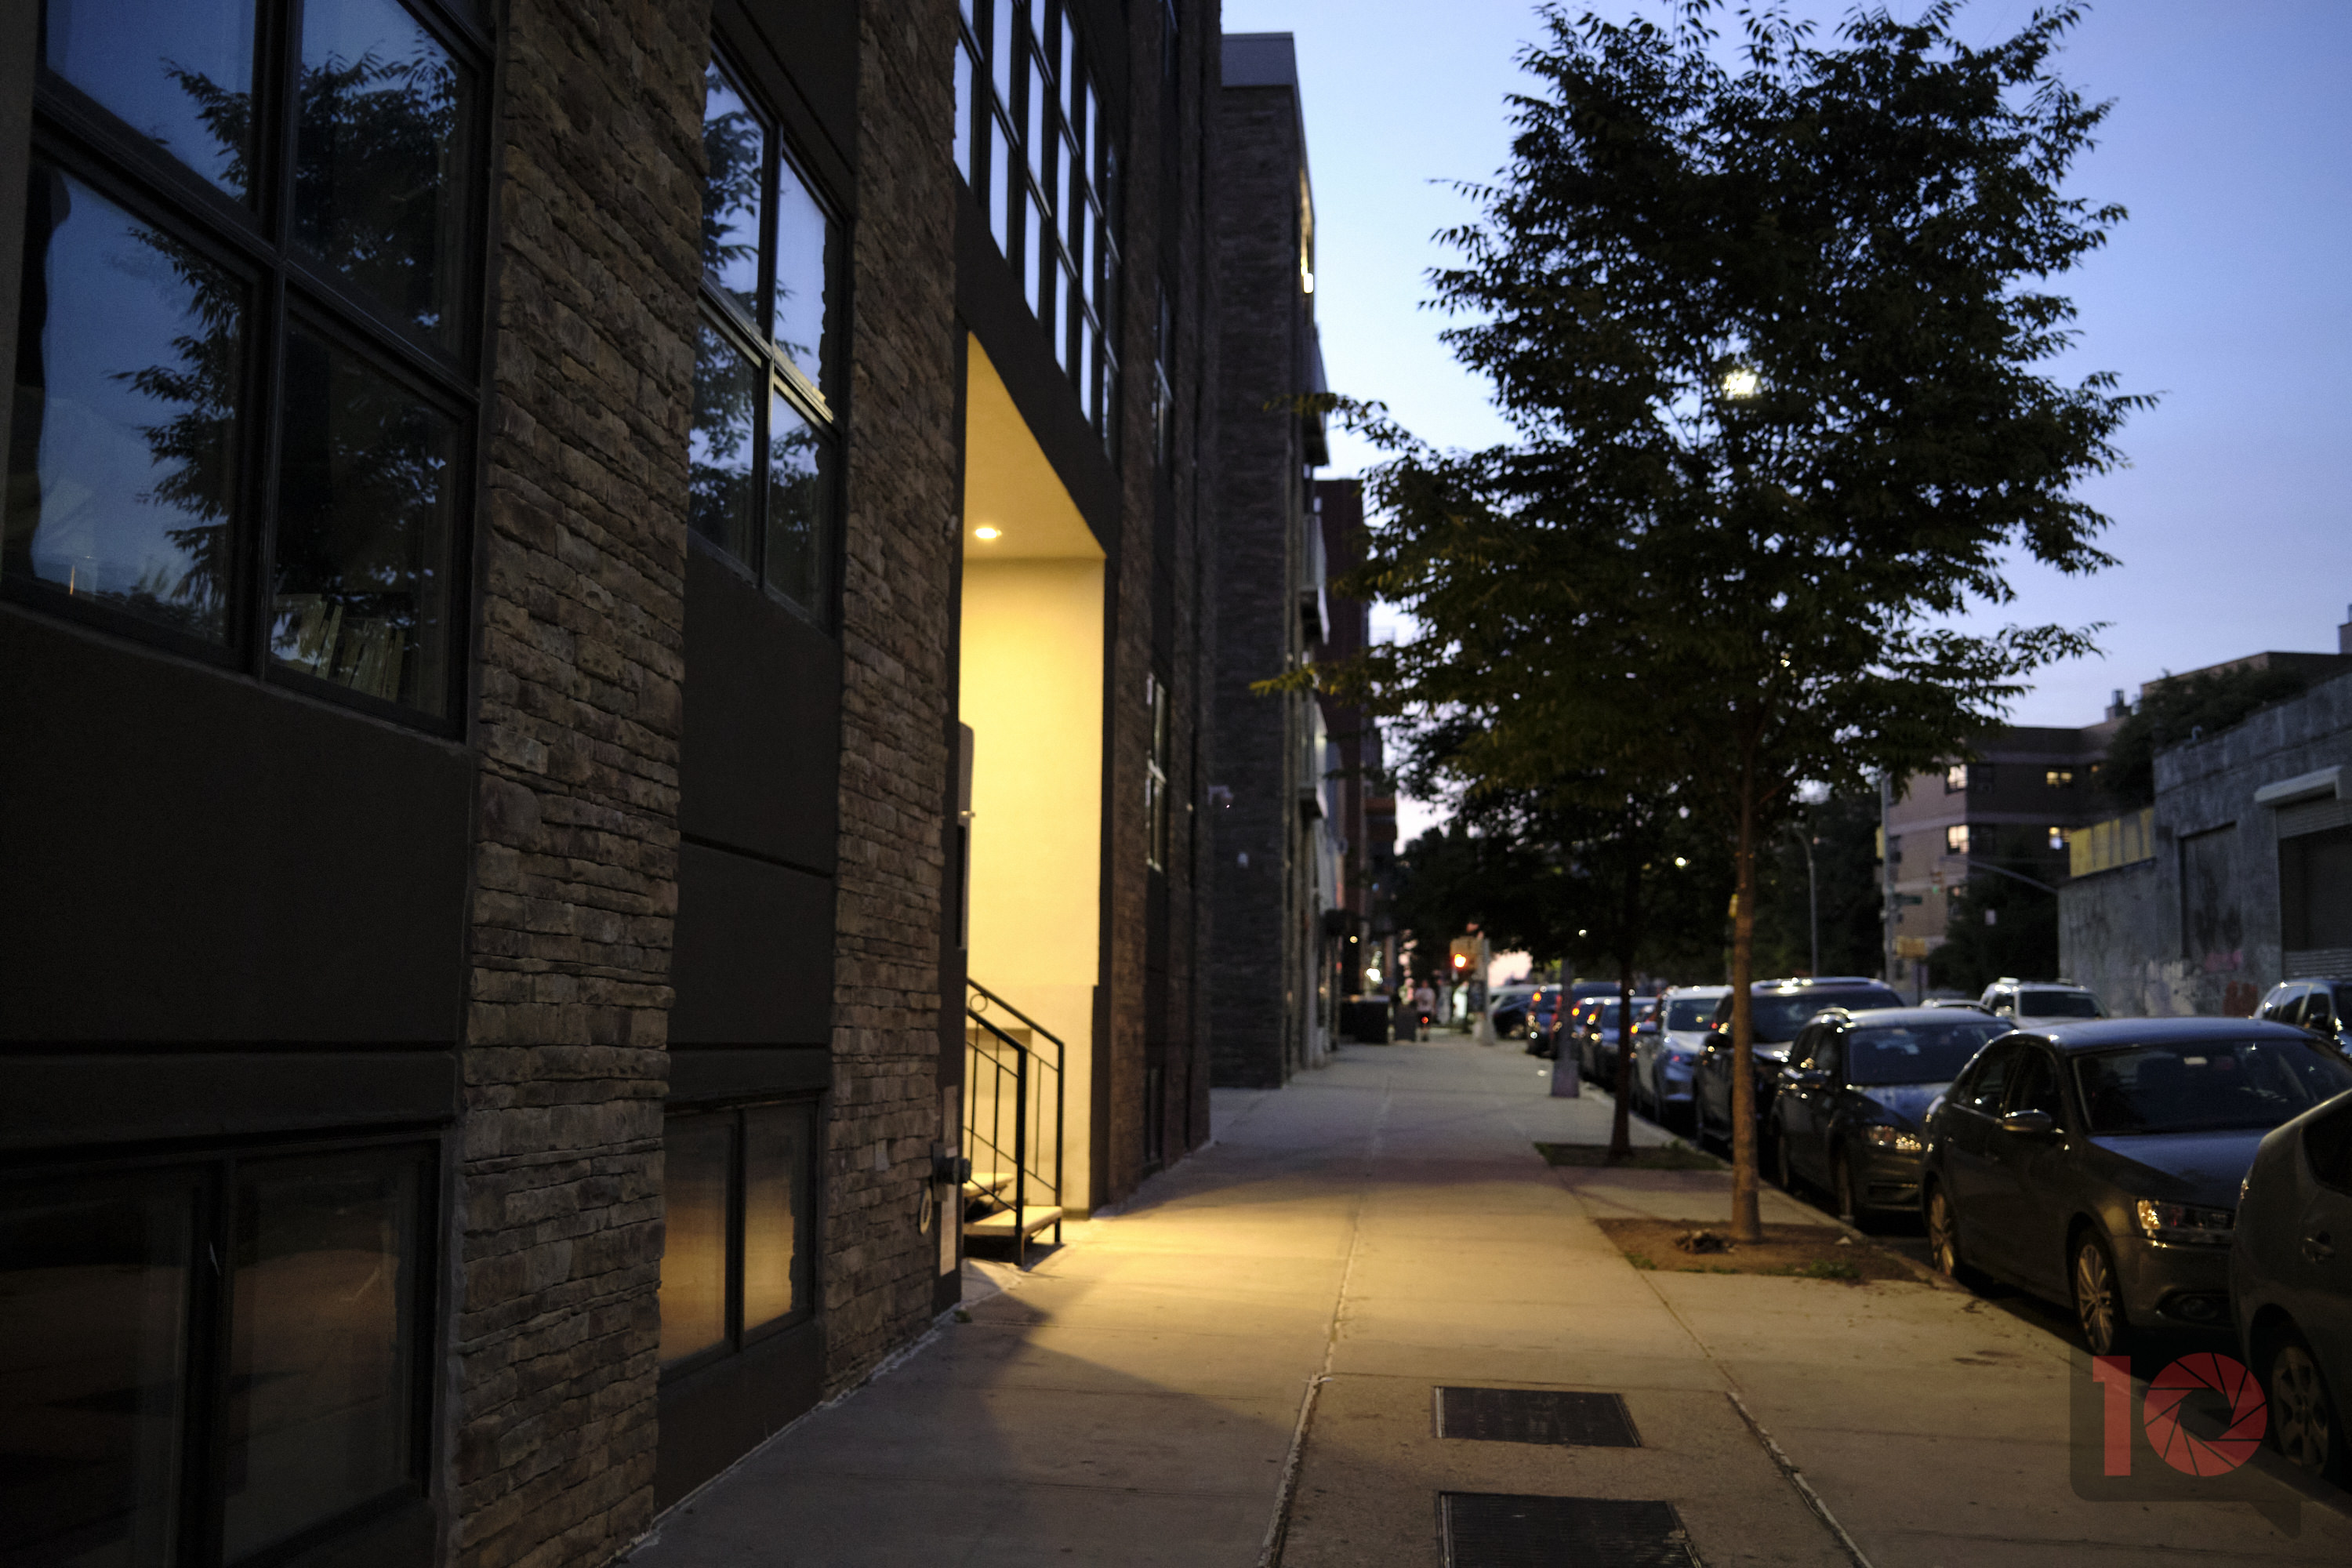
On your phone or your camera, simply just set the exposure slider to the “+” side of things, and you’ll get a better photo most of the time in the dark. You, of course, also lose stability when doing this. But you’ll get a much better and often cleaner image. The science behind overexposing your photo is that digital sensors, just like film, need more light to take better photographs. So if you feed it more light, it’s going to give you a better photo. Additionally, when you overexpose a scene, it makes the ISO noise less apparent. The best way to do the overexposure method is to either grab a tripod or make yourself really, really still.
Here are a few more tips on how to make yourself super still:
- Hold the camera close to you.
- Control your breathing. Ideally, shoot at the top of your breath when you’re full.
- Tuck your elbows into your body
- Use the delay shooting mode
If you follow these tips, you’ll be able to successfully overexpose without using a tripod or any other stabilizing system. It works. But it’s also a bit riskier. Believe it or not, sometimes you just have to accept that you’re not going to get the shot. So spend that time soaking in the moment.
Noise Reduction: But is it Worth it?
Most cameras and phones have a noise reduction option. What this will do is get rid of that grain, the color specks, etc. But you’re trading that cleaner image for less detail. If you’re using a proper camera with interchangeable lenses, check if your sensor has a Low Pass filter. If it doesn’t, then you can turn on noise reduction and still expect a whole lot of details from the image. We did this with the Leica SL2, and the digital files were jaw-droppingly sharp. In fact, we printed an image at ISO 6400 to 17×22 inches and were floored by the details visible.
Phones apply their own type of artificial sharpening using the software. You can see this with Night mode on many of the more modern phones. And overall, the images are pretty good. But they’re not going to beat a dedicated camera.

Pro Tip: Sometimes, it’s very worth it to embrace the image noise and use a filter.
Black and White
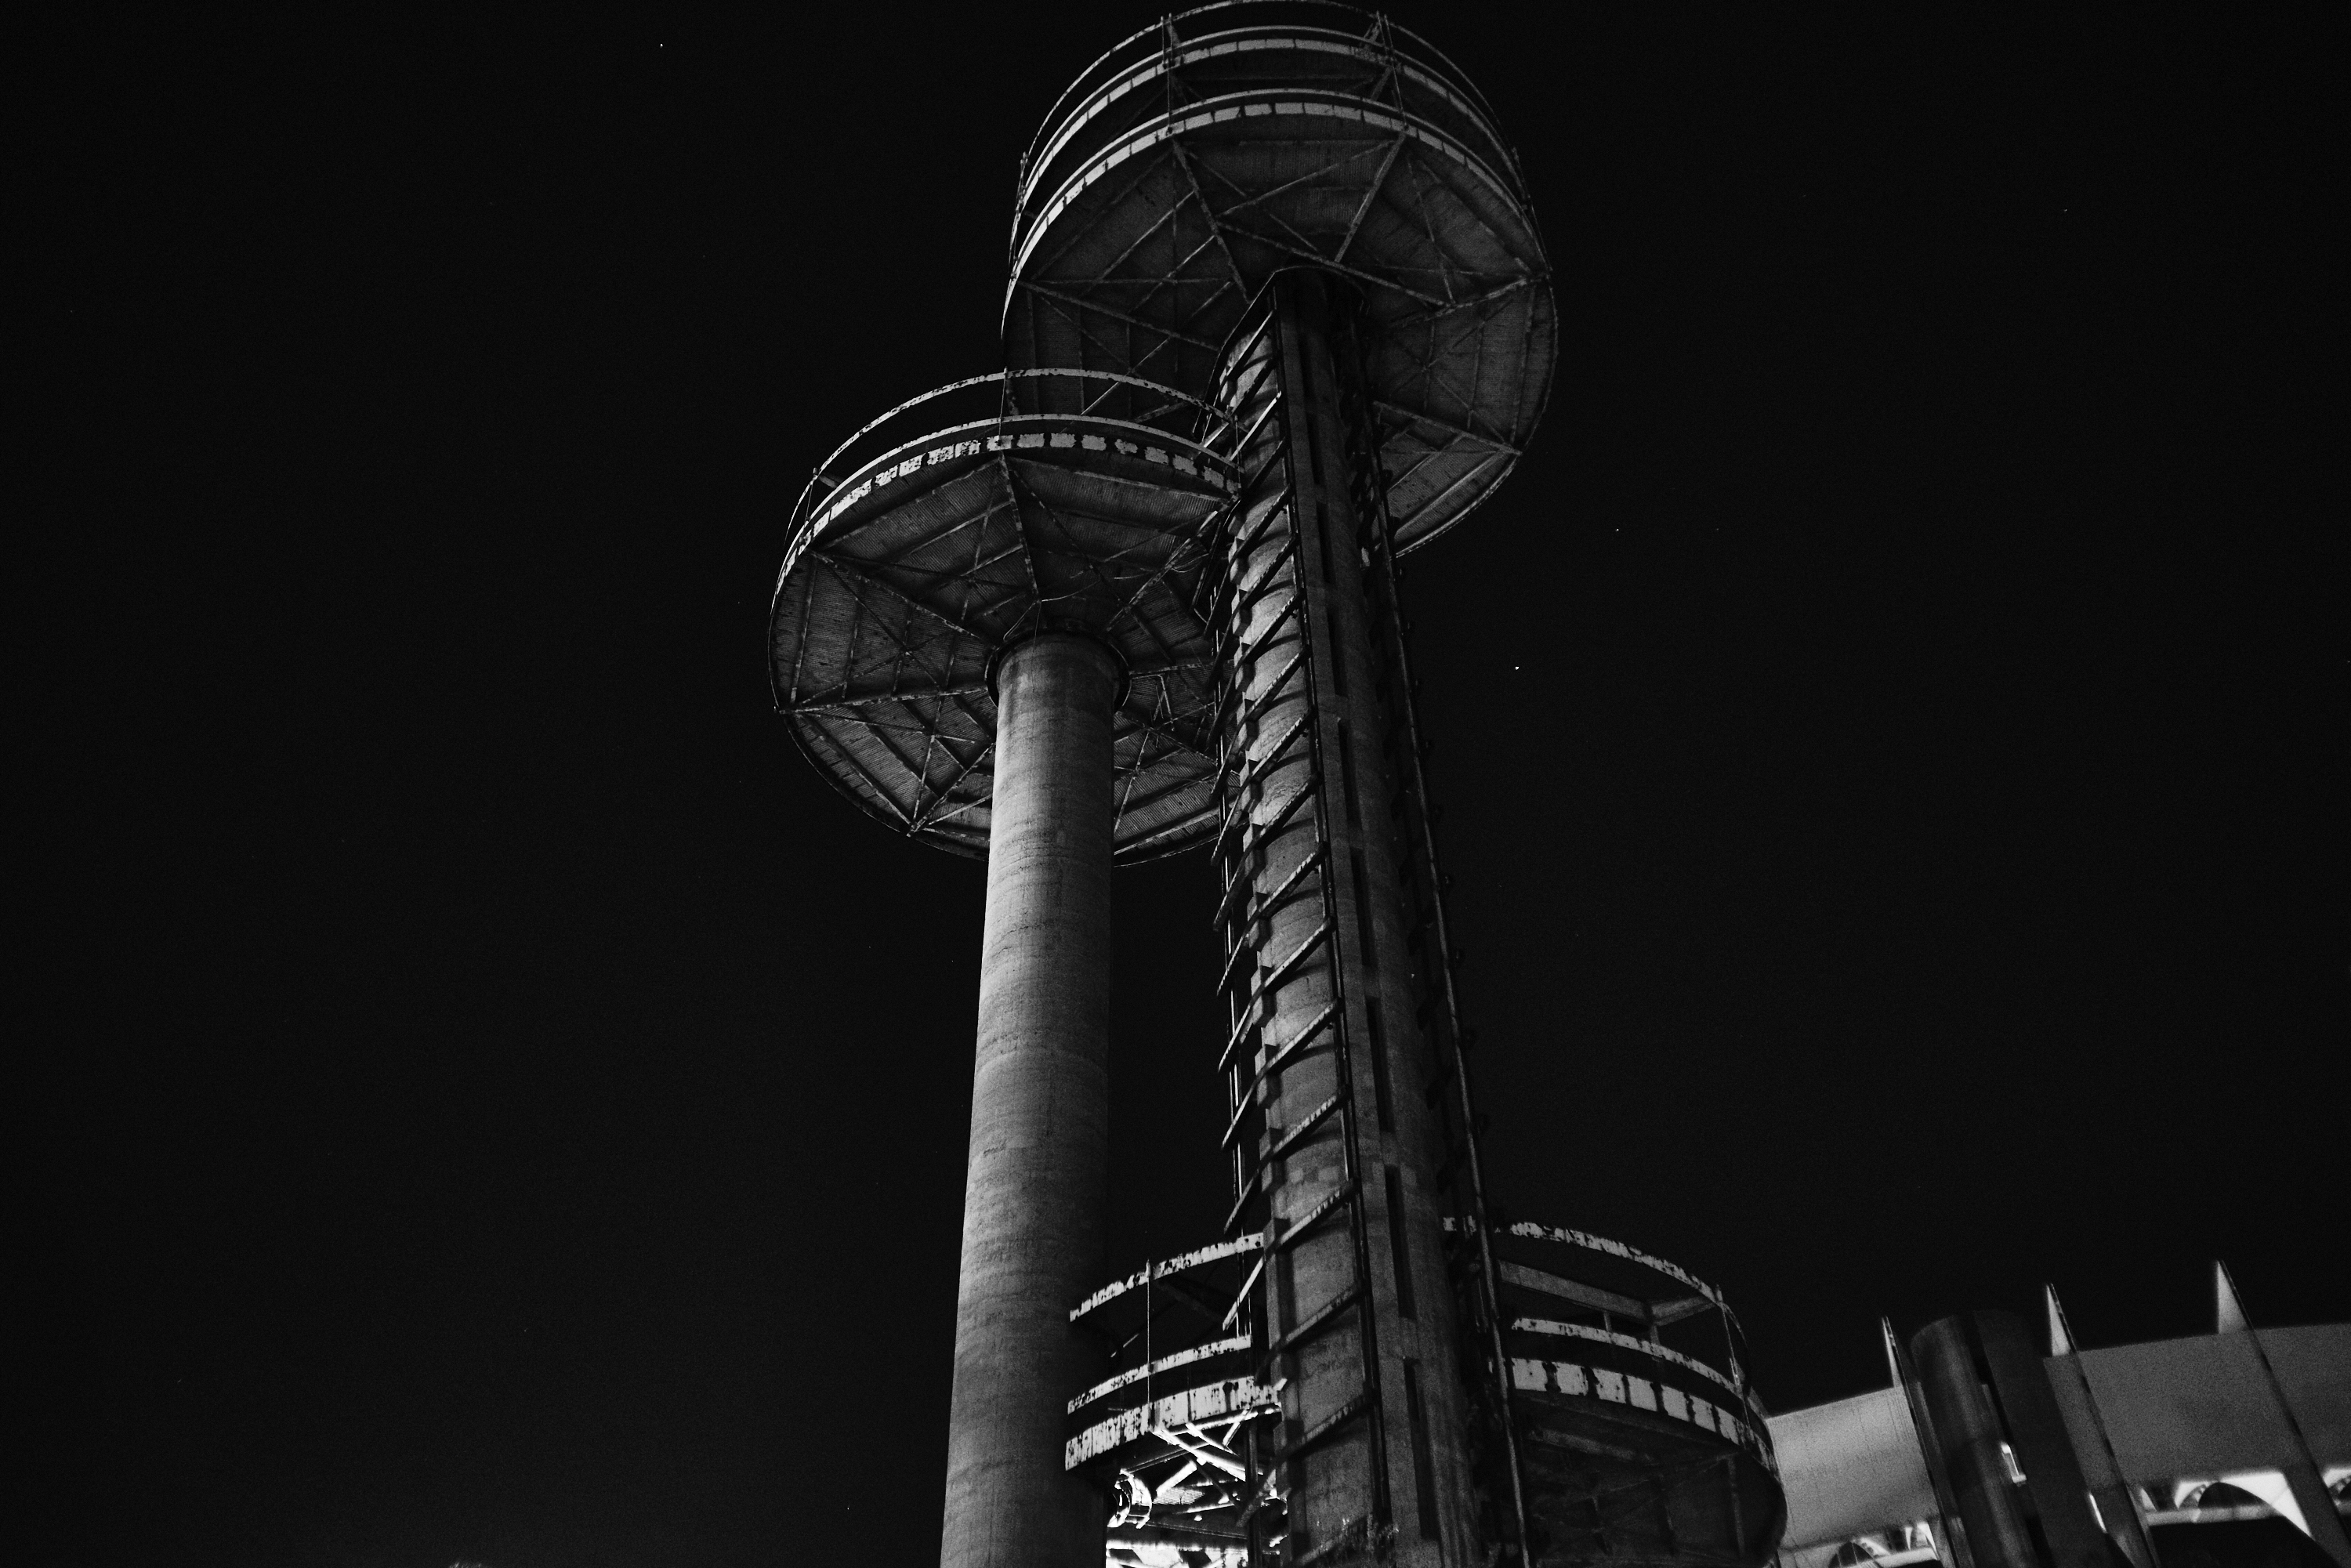
You don’t always have to fight high ISO image noise. Instead, you can embrace it in the look! The best way to do that is to use a black and white filter preset. Our favorite app is RNI Films. But your phone’s dedicated Black and White settings can work too. Even better, a dedicated camera lets you shoot in black and white and then tweak parameters like contrast, sharpness, etc. With newer cameras, you can even add clarity. You don’t have to do it in post-production. Instead, just shoot RAW and JPEG, and you’ll most likely be delighted with what the JPEGs look like. There’s no point in then booting up Lightroom or Capture One and editing the photo for you to get the same look. That’s just silly.
Give it a shot! Instead of trying to fight a problem, use the features of the problem as a solution!