A Simple Camera Trick Can Get You the Blade Runner Look You Love
If you’re looking for the Blade Runner look, it’s all about tweaking a simple camera setting.
Of course, it depends on what generation you belong to, but the Blade Runner look is still something often copied. Folks love it! And we too admit it’s entertaining. There are two variations of the look. Arguably, the older and more classic look has defined lots of fantasy. You can surely do it all in post-production, but you’ll spend a lot less time at a computer editing if you just understand how it works in the first place.
Absolute Daylight and Exposure
First off, you should understand light and what it does. It starts with having the right light. What do we mean by that? We’re talking about Daylight. We know most folks don’t know what that means, so think about the idea of white light. Otherwise, think about white LEDs. Lighting that’s more pure and white to the naked eye is closer to daylight. Warmer light is closer to tungsten. Cooler light is also pretty much daylight. For portraits, lots of folks like to add warmth to their photos. That basically is going beyond daylight.
Let’s show you. The following image was shot under a very warm light. Daylight white balance on your camera is set to around 5500K. (We’re talking about manual kelvin numbers here.)
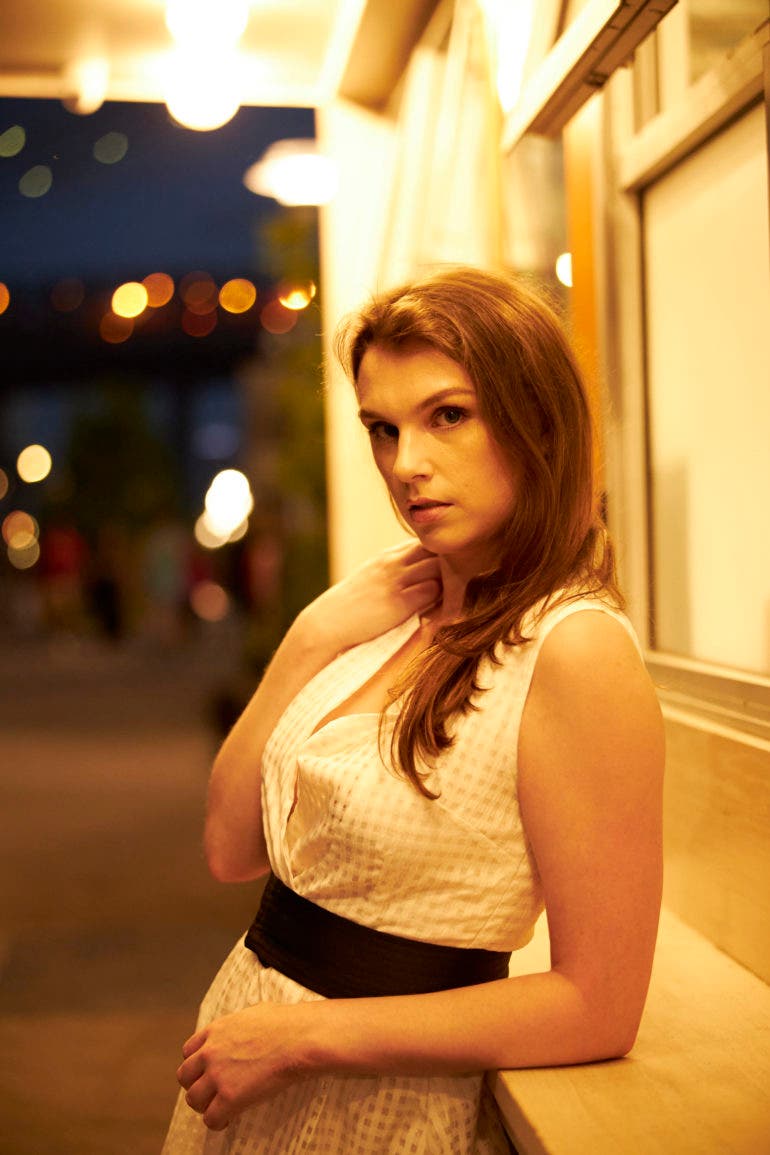
So here’s the situation. White balance works by you adapting to the lighting situation. In the case above, I shot the photo at Daylight. Warm light plus warm white balance equals a warm photo.
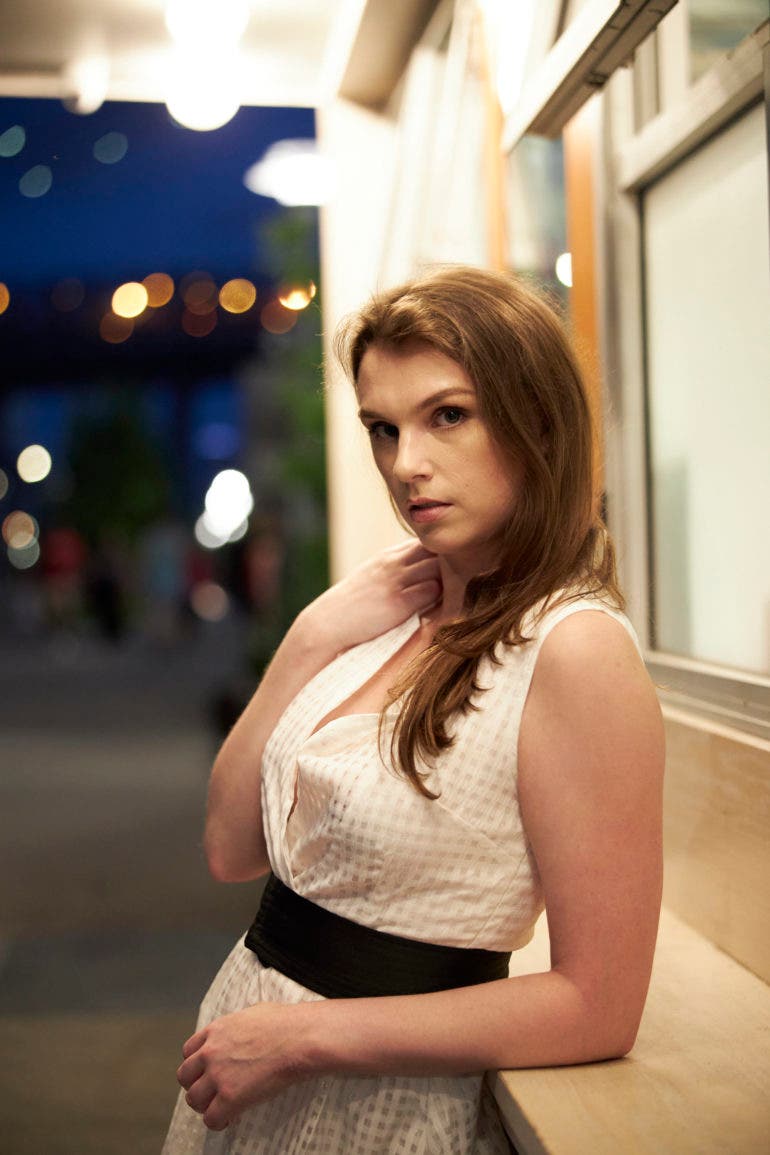
This photo above was re-rendered to be 3200K. That’s tungsten and a very cool white balance on your camera. Warm light plus a cool white balance equals a very balanced image.
Further, the exposure is pretty balanced here. And that’s very paramount to how the final look will render.
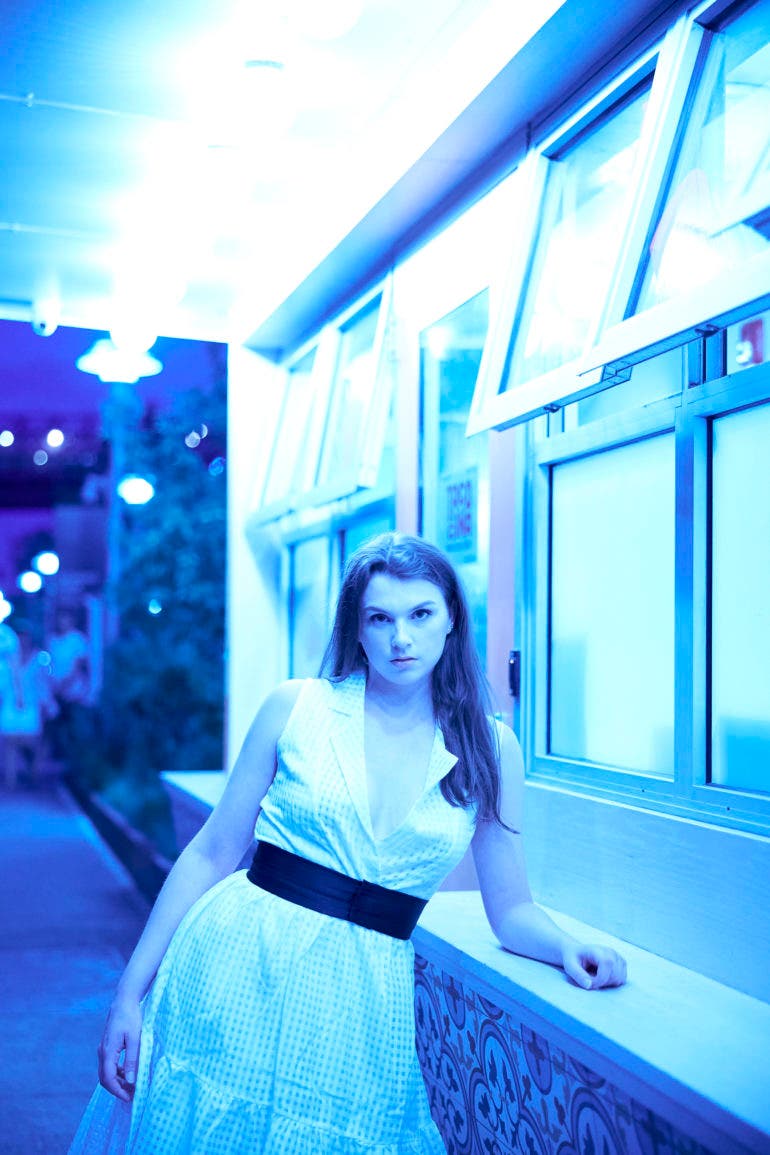
This photo above shows why it’s impossible to do this look with warm, Tungsten light as the starting point. Most cameras don’t have the color range yet.
Classic Blade Runner Look
When you see the classic Blade Runner look, you immediately know it. It’s very iconic. It defined many Sci-Fi shows like Star Trek and a ton of others. If you play video games and like No Man’s Sky, you’ll also see it there a bit.
The classic Blade Runner look takes daylight and then filters it through white balance. It’s using Daylight, which naturally is pretty cool or neutral depending on who you ask. Then they balance to 3200K and add even more of a cooling effect.
If you’re going to do this in post-production, here’s a simple formula.
- 3200K
- Super low contrast
- Highlight nerf
- Blue hue shift
But to start it off in-camera, work with daylight. Ideally, go shooting at night. Look for a place with Daylight lighting. If you’re in a big city, it’s usually easy to find. Lots of LED lighting is already pretty cool. Now just set your camera to 3200K. Manually put that white balance in. It’s usually better than choosing Tungsten or Incandescent. Most camera manufacturers vary on what’s Daylight or Tungsten.

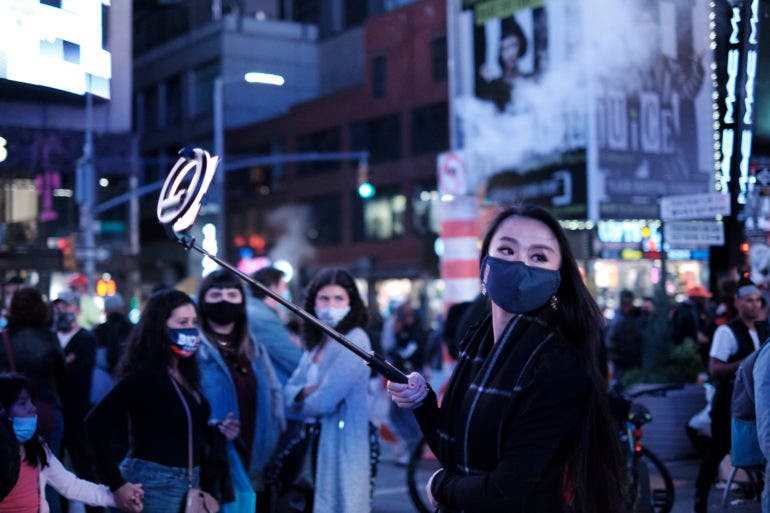
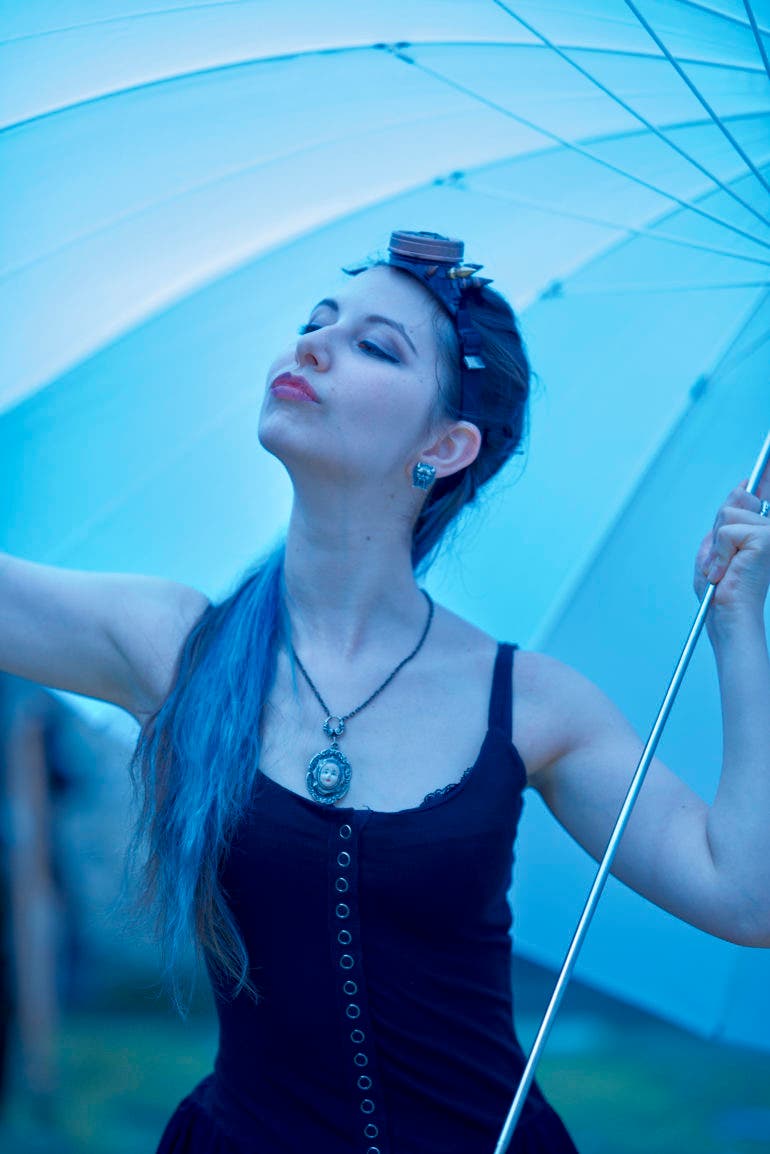
For even more of the effect, we recommend shooting with vintage optics.

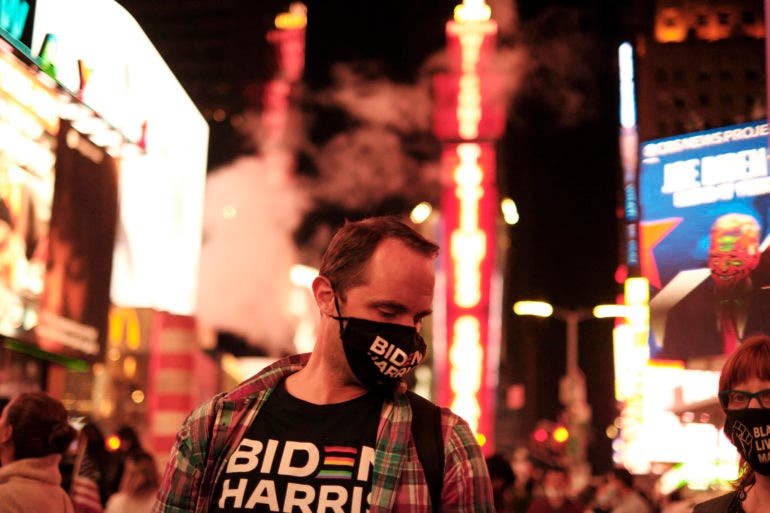
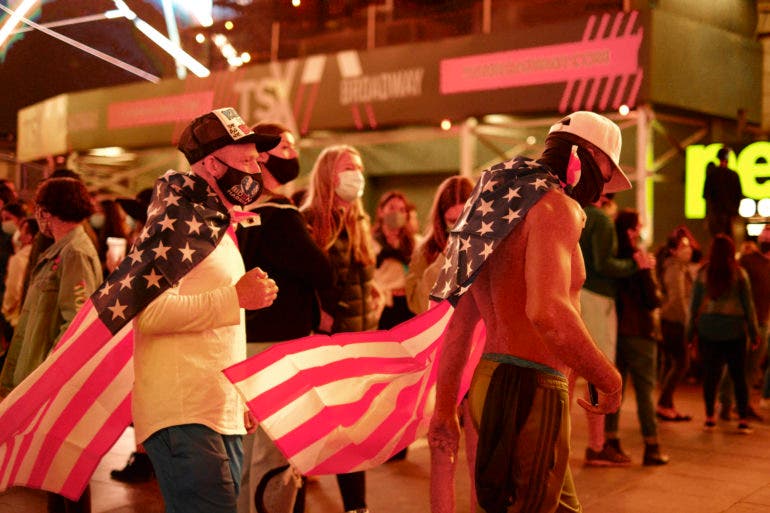
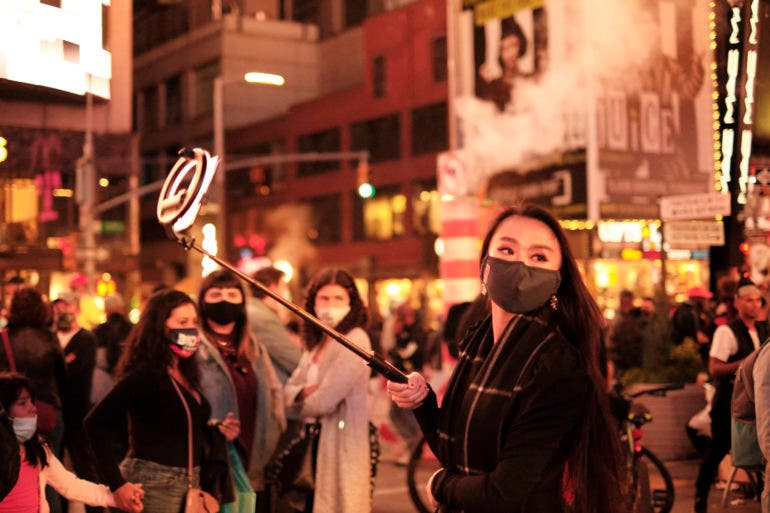
Here’s another situation above in Daylight. This scene was shot in Times Square.

The photo above goes to 3200 Kelvin and gives the Blade Runner look.

The photo here warms the image up and gives it a more modern look.
New Blade Runner Look
The new Blade Runner look takes the opposite effect. Again, you have to start with a very neutral light.
- 14000K
- Super low contrast
- Highlight nerf
- Orange Hue Shift
