This Drone Had an Epic Crash, But I Still Want One. A DJI Mavic Air 2 Review
The DJI Mavic Air 2 is a beginner-friendly drone, but it has more features and resolution than the Mini 2.
The thought of dangling a camera in the air has always made me hesitant to try drone photography. But, after taking my first flight with the newbie-friendly DJI Mini 2 when it first launched, I found that taking pictures at new heights was both thrilling and cathartic: a much-needed mental escape at the end of 2020. After safely flying DJI’s smallest consumer drone, I turned to its slightly larger brother: the DJI Mavic Air 2.
The DJI Mavic Air 2 is a quadcopter that’s essentially as easy to fly as the Mini 2 but packs in several more advanced features, starting with a 45-megapixel camera and SmartPhoto modes. The reason many beginners opt for the Air 2 is its set of sensors for detecting and avoiding obstacles. The sensors will help keep the drone from flying into objects during automated flight, such as the Return to Home option or cinematic flight paths.
Those sensors didn’t keep a tiny branch from crashing the drone, however. I witnessed a camera’s beheading as the Air 2 bounced off several trees and fell from the sky. (Do cameras have souls? RIP.) But, even after watching my drone fears come true, I still kind of want one. Here’s why — and what to consider before choosing between the DJI Mavic Air 2 and the DJI Mini 2.
Too Long, Didn’t Read.
The DJI Mavic Air 2 is a sub-$1,000 entry into drone photography that packs in more megapixels and safety features than the company’s cheapest quadcopter. The gimbal is excellent, the RAW photos versatile, and the app beginner-friendly. But, the sensor is small and noisy, and the 48-megapixel mode creates significant lag.
Pros and Cons
Pros
- 48-megapixel camera with RAW
- 4K video at 60 fps
- Excellent gimbal
- Beginner-friendly
- Built-in safety features, including aircraft warnings
- Obstacle avoidance at front and sides
- Portable, folding design
Cons
- Smaller sensor than DJI Mavic 2 Pro
- Camera defaults to the 12-megapixel mode
- 45-megapixel mode has a 5-second lag
- Low light images are noisy
- No side sensors for obstacle avoidance
- Video has some edge wobble at full speed
Gear Used
I used the DJI Mavic Air 2 standard kit, using the DJI Fly app on an iPhone 11.
Innovations
The DJI Mavic 2 does more building on the first generation than starting anything new — but some of those smaller features are undoubtedly innovative. It’s DJI’s first drone with technology that warns of other nearby aircraft. The drone also adds smarter features, including SmartPhoto modes, which use advanced scene analysis for a more intelligent auto mode.
DJI Mavic 2 Tech Specs
These tech specs were taken from Lens Rentals (shortened for clarity):
- Takeoff Weight: 1.25 lb
- Dimensions Folded: 3.8 × 3.3 × 7.1″
- Dimensions Unfolded: 10.0 × 3.0 × 7.2″
- Power Supply: Mavic Air 2 Intelligent Flight Battery
- Sensor: 1/2” CMOS, 48 MP, ISO 100-6400
- Lens: 35mm (effective) f/2.8
- Minimum Focusing Distance: 3.3’
- Recording Formats: JPEG, DNG (RAW), H.265, HEVC, H.264, AVC, MPEG-4 AVC, MP4, MOV
- Video Modes:
- 4K Ultra HD: 3840×2160 24/25/30/48/50/60 fps
- 2.7K: 2688×1512 24/25/30/48/50/60 fps
- FHD: 1920×1080 24/25/30/48/50/60/120/240 fps
- Supported File System: FAT32, exFAT
- Media: MicroSD Class 10 or UHS-1 up to 256GB
- Maximum Speed
- Horizontal: 17.9 mph (42.5mph in Sports Mode)
- Ascent: 9.84 ft/s
- Descent: 6.56 ft/s
- Maximum Wind Resistance: 23.61 mph
- Flight Ceiling from Sea Level: 16, 404’
- Maximum Tilt Angle: 35°
- Hovering Accuracy: Vertical with GPS: ±1.64’, Horizontal with GPS: ±4.92.’
- Operation Times: Flight Approximately 34 minutes, Hovering Approximately 33 minutes
- Remote Controller: DJI Mavic Air 2 Remote Controller
- Operating Frequency: 2.4 GHz (2.400 – 2.4835), 5.8 GHz (5.725 – 5.850)
- Maximum Operating Distance: 10 km (FCC), 6 km (CE), 6 km (SRRC), 6 km (MIC)
- Live Monitoring: DJI Fly App; Quality 720p@30fps or 1080p@30fps; Latency 120 – 130 ms
- Mobile Device Compatibility: Up to 3.38” wide
Ergonomics
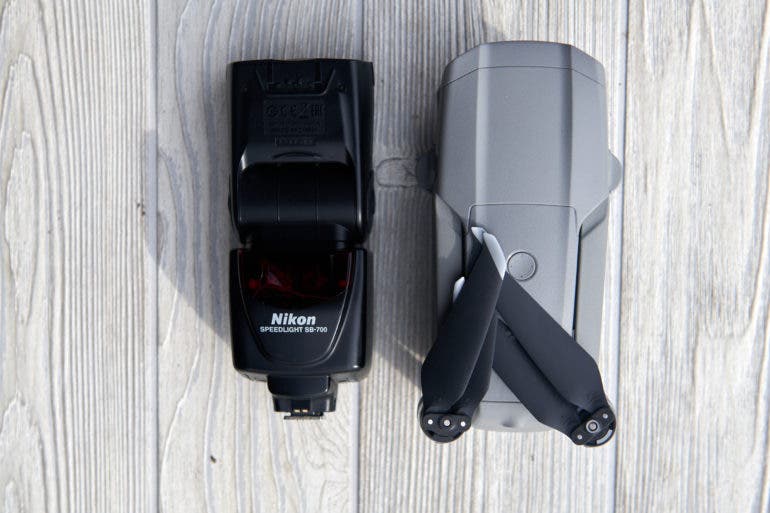
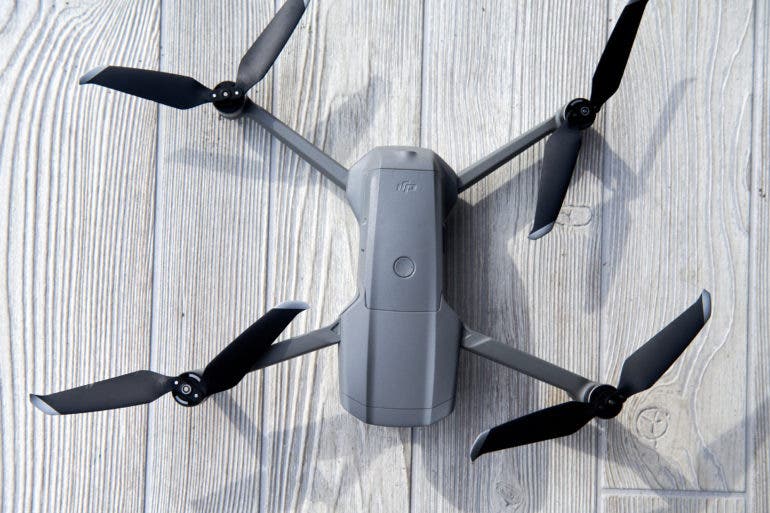
The DJI folds down to roughly the width and length of a hot shoe flash, but just a bit taller. I was just able to fit the drone and controller in a small bag designed to hold a mirrorless camera and one extra lens. Unfolded, the drone’s wingspan is nearly as large as my 15-inch laptop screen. Weighing 1.25 pounds will require FAA drone registration in the U.S. (unlike the smaller DJI Mini 2).
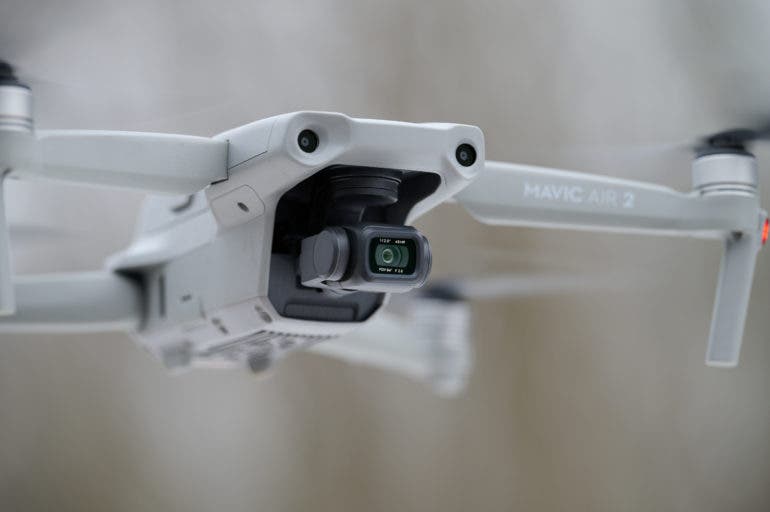
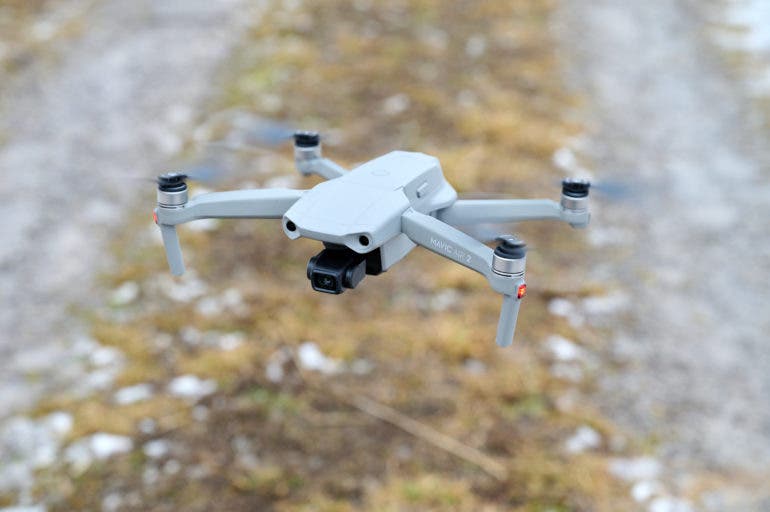
The front of the drone houses the camera and gimbal, and two sensors used for obstacle avoidance. The two propellors at the front have “landing gear,” a small peg that keeps the gimbal and camera from touching the ground. Flashing green and red lights are placed near all four of the propellers.
Two additional sensors rest at the back. The bottom also has sensors as well as a light to aid in landing. The sides, however, do not have any obstacle avoidance sensors.
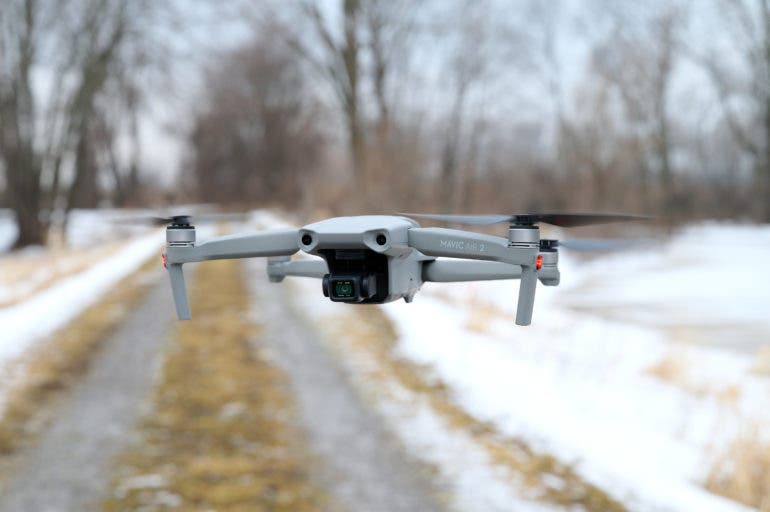
One side of the drone houses a microSD card slot, while a USB-C port is mirrored on the opposite side. Two buttons on the sides pop out the battery from the top of the drone. The four propellers use a twist motion to unlock, which means you don’t need a tool to swap out a broken propeller. (Three extra propellers are included in the box).
The Controller
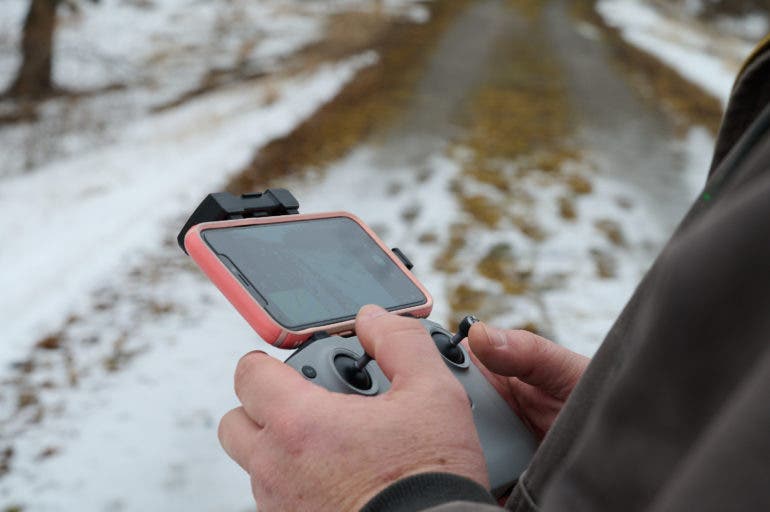
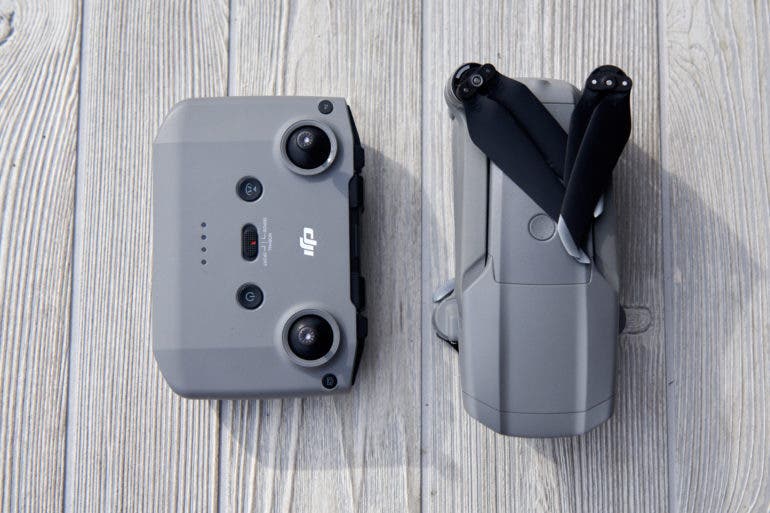
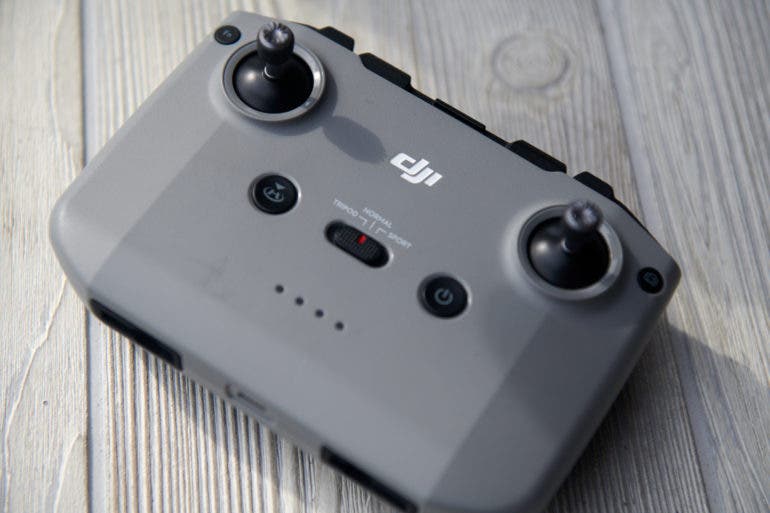
The Mavic Air 2 uses the same controller as the Mavic Mini 2. But that’s not a bad thing. The controller has an ergonomic and intuitive control scheme. Two joysticks rest at the thumbs, and the index finger wraps around the controller to adjust the gimbal angle on the left side and trigger a photo or video on the right. The center of the controller houses an on/off, mode switch, and Return to Home button. Near the joysticks, the controller also has an FN and photo/video mode button.
The top cradle holds a smartphone in place. The controller uses a wired — not wireless — connection to the smartphone, which is more reliable and doesn’t add more lag time.
Build Quality
Drones need to stay lightweight to fly without draining the battery too quickly. It’s unsurprising, then, that the drone is made from plastic. The build doesn’t feel too cheap, however, despite being made of plastic. Pulling the drone out of the box, I thought the propellers and gimbal felt like the most fragile part of the entire drone.
Every time I’m working to keep the drone in my line of sight, I wonder why DJI went with gray. A brighter color — that doesn’t match the clouds some days — would be easier to spot. While there are lights near the propellers, the drone is still difficult to spot at higher altitudes.
The Crash
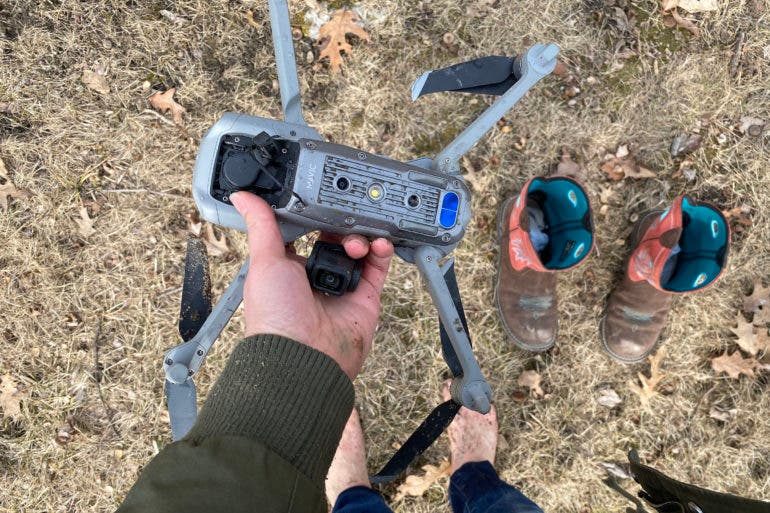
I brought the drone down after going up and over some trees when the drone hit a small branch. I don’t blame the drone for not seeing what was really just a small twig since I couldn’t see it myself.
The drone dropped, caught itself before hitting the ground, and flew back to its previous position. Had that been the end of it, the drone would have likely been fine, or at least easily repairable.
But, instead of hovering, the drone went haywire. It took off, away from me and the home point and towards the trees. The drone then became the ball inside a pinball game bounced off several trees before landing in a creek roughly 30 feet away. The whole crash took only seconds, during which it didn’t respond to a quick tap on the return home button on the controller. At some point during those few seconds, I received a “gimbal stuck error” and then lost the camera feed entirely.
I used the “Find My Drone” tool inside the app and spotted the drone on the opposite side of the creek bank, half-submerged. I quickly took off my shoes, climbed down a steep bank, and waded in cold, freshly melted snow water. I encountered a black object in the water first — the severed camera. I then scooped up the drone. The lights were still flashing, but the drone was missing a propeller and had a severed cord where the gimbal had once been.
The gray plastic of the drone, however, was surprisingly unscathed. Sure, the most important part of the drone fell off, but the way the drone ping-ponged off several trees, I kind of expected more damage to the body and arms.
I can’t say with any certainty why the drone reacted the way it did after the initial bump on that branch, but I have two theories. The first is that bump messed with the drone’s GPS or link to the controller, and it became a flyaway drone with a mind of its own. Drone flyaways are a known risk of drone flight caused by losing the connection to the controller. And, crashes are known to cause flyaways.
The second theory is that the initial bump is when the drone lost that propeller, and it was thrown out of balance and couldn’t right itself.
But what I can say, with certainty, is that my experience didn’t convince me not to buy the Mavic Air 2. It did, however, convince me that anyone who invests in the Mavic Air 2 should also invest in DJI Care Refresh. With DJI’s “insurance,” a replacement is $69 to $99, or $399 if you had a flyaway and can’t even find the drone to ship back to DJI.
Ease of Use
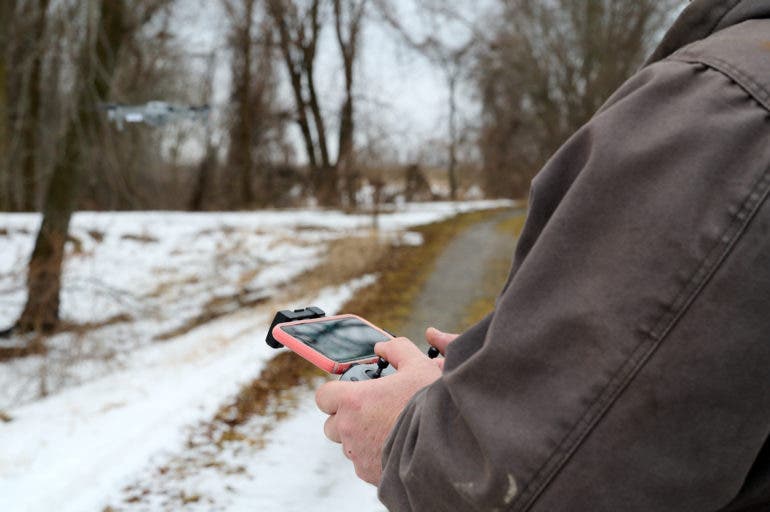
While a novice can use a camera without physically hurting anyone else, flying a drone requires research into safety and regulations before taking that first flight. Assuming that research has been done, however, the Mavic Air 2 is excellent for beginners. This is only the second drone that I’ve flown. While my experience wasn’t perfect, it was relatively easy to jump into.
The DJI Fly app walks new users through a pre-flight checklist, how to use the controls, and how to land the drone. A map in the corner shows where you are and where it’s okay to fly. The map will, for example, show you where the airports are. Flying near a restricted zone will get you warnings, after which the drone will stop and hoover in place.
The screen will also display vital information like altitude at the bottom and battery life at the top in the app. Camera settings are displayed in the bottom right corner. A mode button allows you to select the different photo or video modes. That includes auto exposure bracketing and panoramas.
Annoyingly, the default single photo mode and the auto shoots at 12 megapixels, not the advertised 48 megapixels the drone is capable of. The highest resolution is a dedicated 48-megapixel mode. That’s not clear right away, which means most of my shots were taken at the lower resolution. Setting up RAW shooting also is hidden in the ellipsis menu and not paired with the shooting modes. As a note, maybe DJI should be a bit more clear on the megapixel count.
The 45-megapixel mode is also slow. I could take a 12-megapixel photo and keep flying right away. I could continue flying with the 45-megapixel shots, but my screen didn’t return to live view until the image had been processed about five seconds later.
Unlike the DJI Mini 2, the Mavic Air 2 includes obstacle avoidance. That’s a bit more reassuring for beginning users worried about crashes. Of course, as I proved with a crash, obstacle avoidance isn’t fail-proof. Even photographers — not videographers — using the automated flight paths will feel more comfortable using features like Return to Home with this in place. I was much more comfortable using the different automated flight modes in areas with trees, knowing that the drone could detect obstacles. I tried out the obstacle avoidance by telling the drone to fly home with a line of trees in the way. The drone stopped quickly a few feet from the trees.
However, the drone doesn’t have any sensors at the sides. Flying sidewise, the drone won’t see obstacles. That’s disappointing for automated flight paths that move side-to-side, like circling the subject. But, an option in the settings does allow pilots to disable sideways flight for any pilot that finds the lack of side sensors worrisome.
On the flip side, relying on obstacle avoidance could also create a false sense of security and increase the pilot’s tendency to fly closer to trees and other objects. I didn’t crash the Mini 2. I did crash the Air 2. Would I have given the drone a wider berth knowing the technology to detect obstacles was missing? Perhaps, but, as they say, hindsight is 20/20.
The drone also includes a new feature that sends an alert whenever other aircraft — such as a helicopter or airplane — is in the area. The app sent me an alert minutes before I could even see a commercial airplane high overhead. Even though the plane was much higher than the drone could even fly, that’s still an excellent safety feature. I regularly have planes flying low to spray for mosquitos in my area. (And, unbeknownst to me until the DJI app pointed it out, a house in my area even has a private airport in the backyard.)
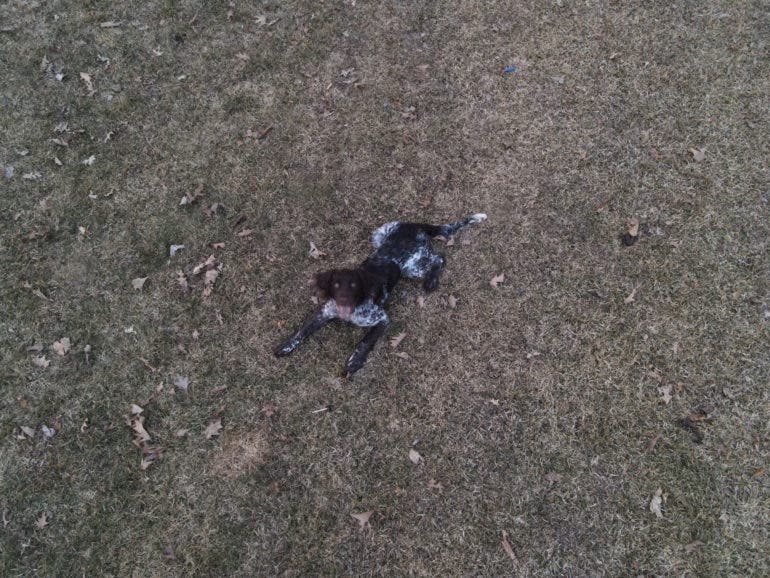
The drone hovers surprisingly steady in low winds but did seem to have some trouble staying in one spot in 15 mph winds. It also had some trouble flying into winds that high. The drone is rated safe to fly in 18 to 23 mph wind, but I would keep it at that lower number. The gimbal is excellent — I didn’t spot camera shake in my photos. Even the videos were smooth and cinematic, though, at top speeds, there was some noticeable wobble to the edges of the video.
Image Quality
Like the Mini 2, the Air 2 is basically a point-and-shoot with wings. You get stunning photos because you are airborne, not because the camera is stunning. However, the camera does its job and is great for social media sharing and smaller prints.
Color
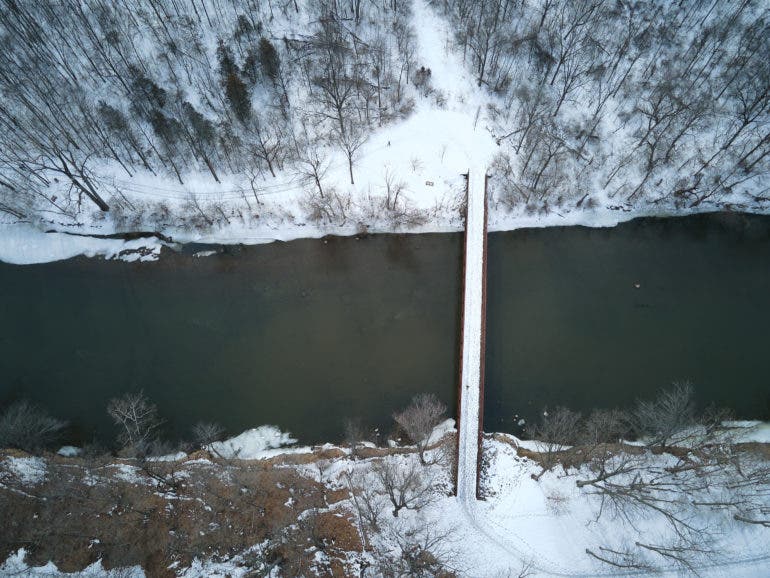
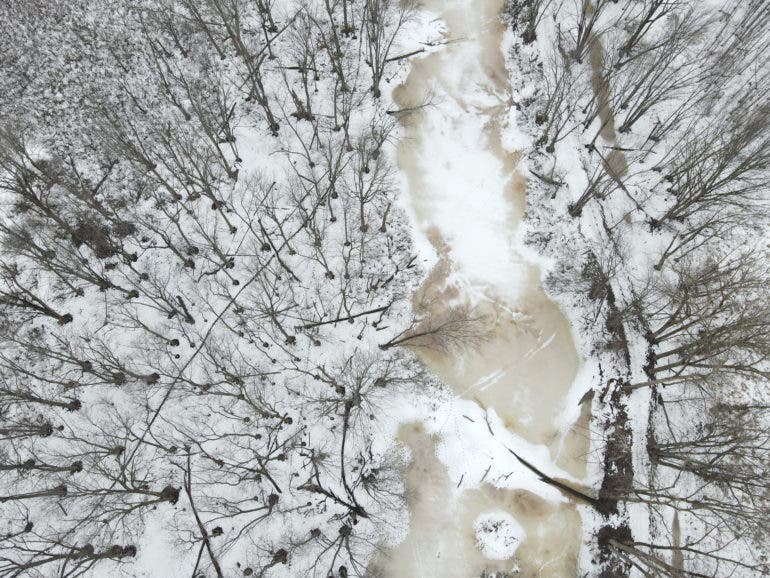
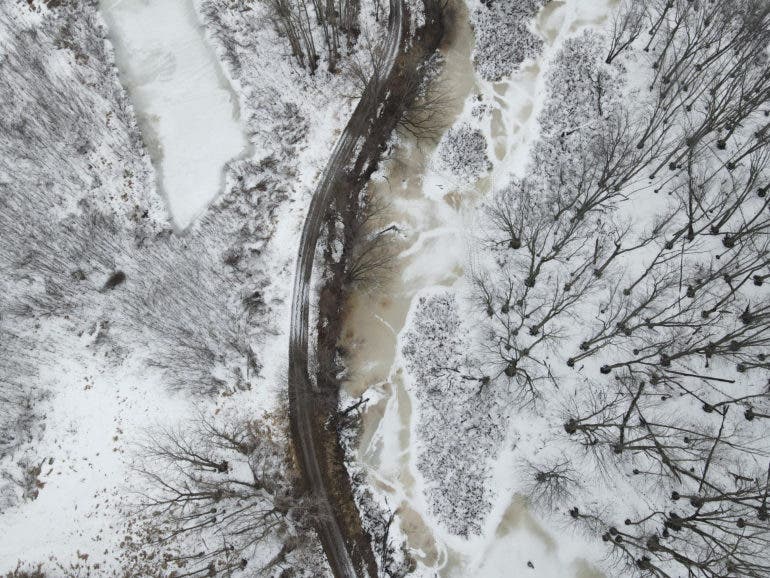
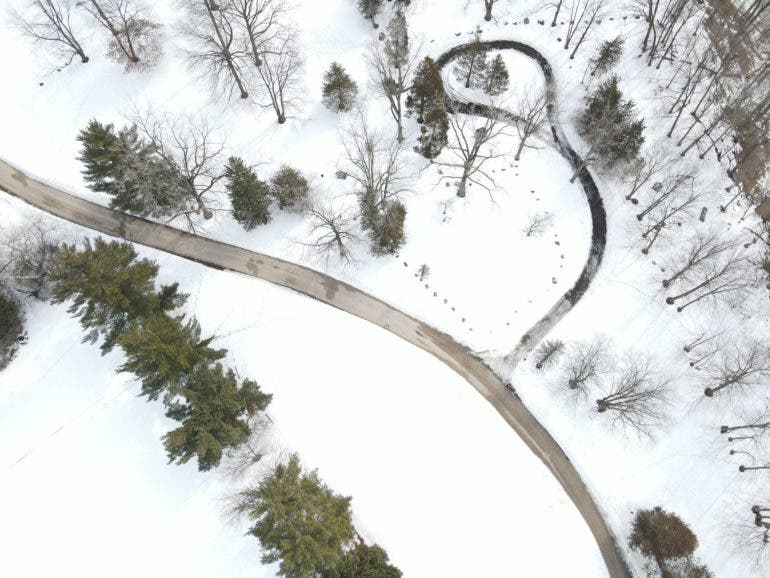
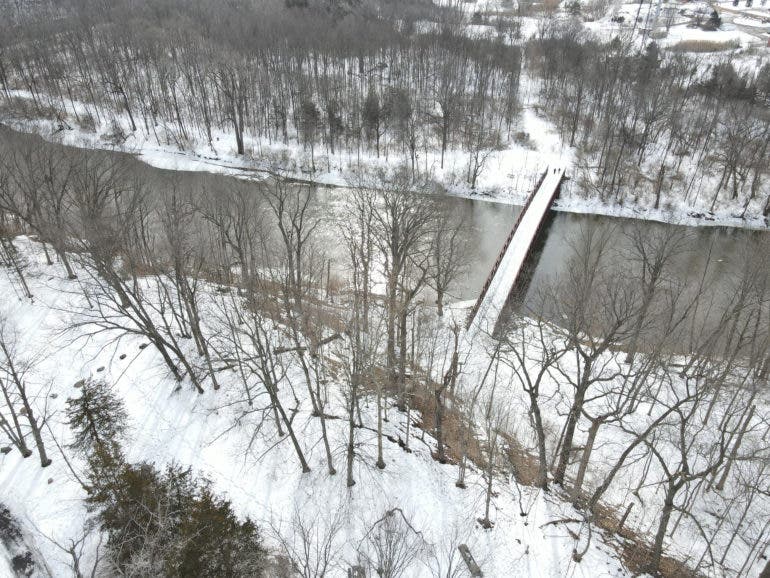
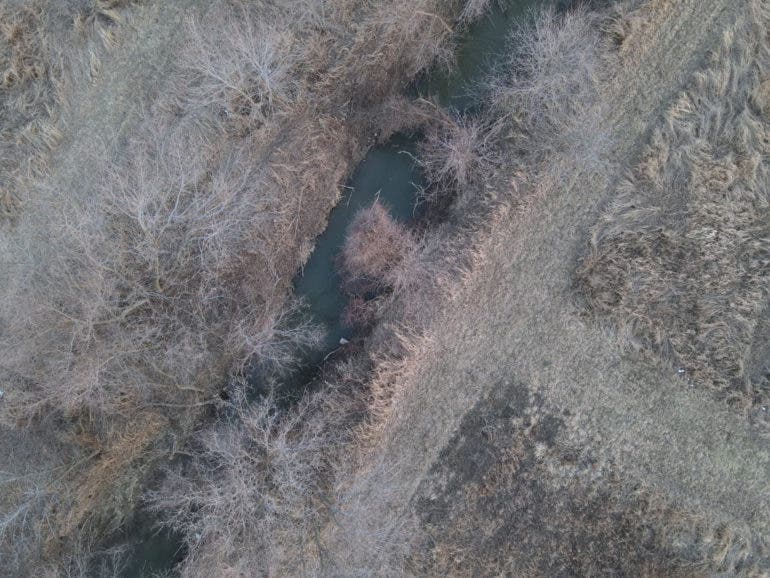
Hues from the Air 2 are realistic. I tested the drone with snow, and when the snow melted, to reveal dead brown grass. That’s not exactly the best time to fly a drone to look at the color, but what I saw was right in line with what I expected.
Shooting in the SmartPhoto mode, the Air 2 delivers more color and dynamic range than the basic auto mode. The shadow details are a bit muddier, however. (SmartPhoto mode is only in 12 megapixels). Take a look at the difference between working with auto and SmartPhoto:

High ISO
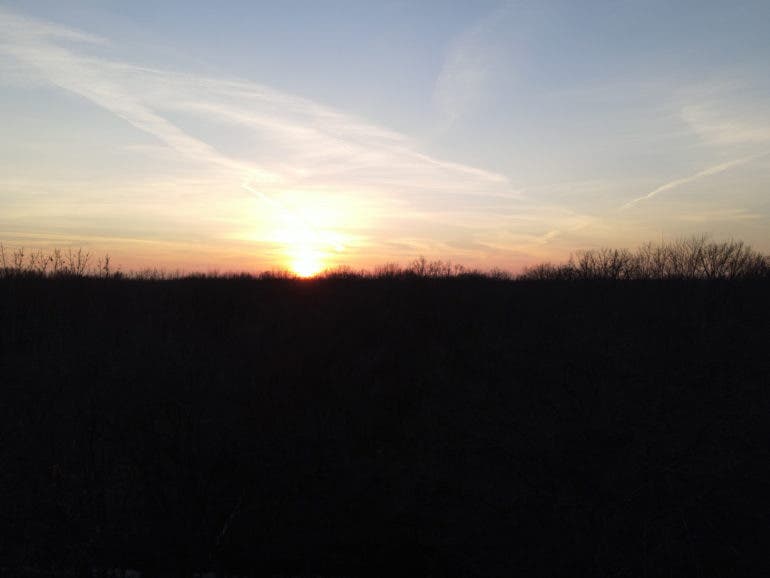
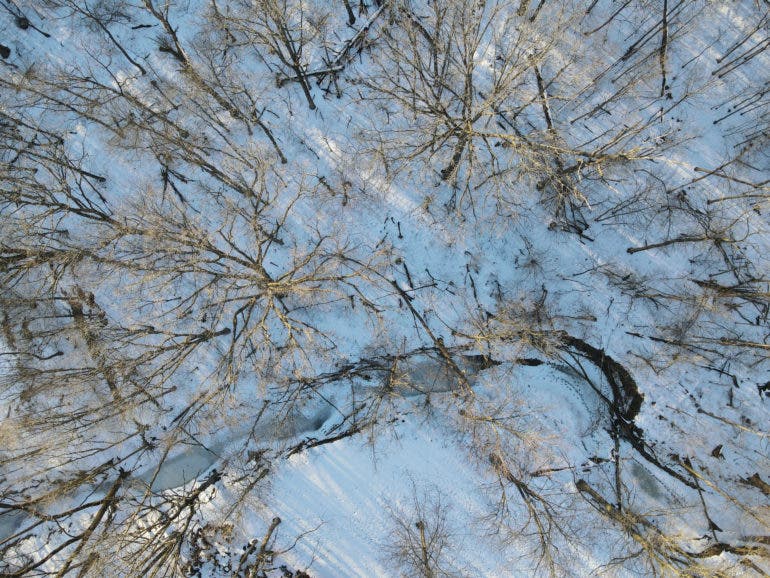
With a 1/2-inch sensor that packs in 48 megapixels, images taken near sunset were noisy, even at just ISO 590. That muddies up the details when viewed at 100 percent. The option to shoot at 12 megapixels will help a little bit. I found the shots taken during the day in the 12-megapixel mode to be clearer than the ones taken near sunset in the 45-megapixel mode.
If this were a mirrorless camera, I’d say walk away and don’t look back. But, drones are unsafe to fly at night and not really made to fly indoors. That makes the noise less of an issue. Photographers planning shoots near sunset and sunrise, however, should expect some noise.
Sharpness
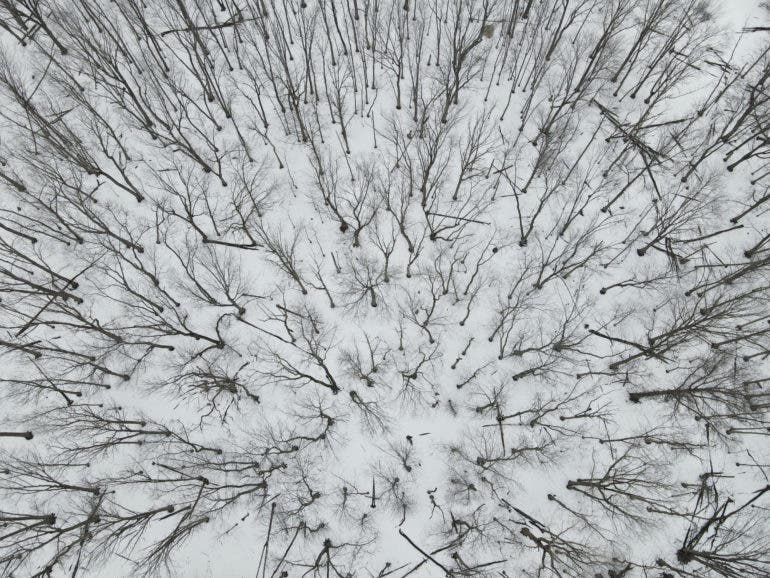
The DJI Mavic Air 2 delivers sharpness that’s about level with a point-and-shoot camera. Photos are sufficiently sharp for sharing on social media and printing. But, you don’t get the impressive sharpness of a high-end camera.
Chromatic Aberrations & Flare
I only spotted a bit of chromatic aberration in images from the Air 2, where reflections off water meant tree branches were backlit. Shooting into the sunset, I didn’t pick up any noticeable flare. I would have liked to test for flare with a full sun well before sunset, but I didn’t have many good flight weather days in February and March.
RAW File Versatility


I was impressed with what I could do with the RAW files from such a small sensor. In one shot, I was able to bring back a sky that was so blown out that it was white in the JPG version. With some tweaking in Capture One, the almost white sky become blue.
JPEG Output






Edited RAW


Mavic Air 2 Vs DJI Mini 2
The DJI Mini 2 and Mavic Air 2 are among DJI’s most affordable drones. While there are several key differences between the two, those gaps narrow a bit when you look at the fine print.
The Air 2 has a slightly larger sensor — 1/2” rather than 1/2.3” — and that sensor can shoot up to 48 megapixels. However, the Air 2 defaults to 12 megapixels, including the smart shooting modes (the same resolution as the Mini 2). To get the full 48 megapixels, you need to use standard auto, manual mode, and practice more patience with a five-second lag time. The Air 2 also has HDR panoramas that the Mini 2 does not and a smarter auto mode (which, in testing, delivered a much better dynamic range).
The Air 2 shoots 4K at 60 fps, with the option to get slow-mo up to 120 fps in HD. The Mini 2 only shoots 4K at 30 fps. The Air 2 also has tracking and hyper lapses, which the Mini 2 lacks. On the controller, the Air 2 has a better live view with the option for 1080p, while the Mini 2 only has 720p.
Besides resolution, one of the biggest reasons to choose Air 2 is obstacle avoidance. While the Air 2 doesn’t have side sensors, the front and rear sensors are certainly better than without. Those sensors are likely the most used for automated flight paths, such as Return to Home. Air 2 also has aircraft detection. The Mini 2 only uses sensors on the bottom to detect unsafe landing conditions.
The Air 2 is the better drone, but I’m not sure it’s as good as the price difference would suggest. At $449, the Mini 2 is nearly half the cost of the $799 Air 2. It’s an affordable way to get started in drone photography. Also, excluding some of the safety features like obstacle detection, it is just as easy to fly, using the same app and controller. It’s also light enough to fly without FAA registration and folds down quite a bit smaller. The pricier Air 2 has more megapixels, better video frame rates, more shooting options, and more safety features. That higher megapixel count can muddy images taken in low light, however.
Before flying both drones, I was sure I wanted the drone with obstacle avoidance. After flying both drones, the gap between the two is narrower than I first thought. Photographers hesitant about investing in a camera that could fall out of the sky should start small with the Mini 2. Photographers that want a little more detail and or the ability to use automated flight modes in an area that’s not 100 percent free of obstacles may want to spring for the pricier, higher resolution Air 2. Videographers may have an easier decision going for the 60 fps drone that includes a follow option and hyperlapse. The difference between a 1/2.3-inch sensor and a 1/2-inch sensor isn’t much, which may push more photographers to the cheaper drone.
The next step up is the DJI Mavic 2 Pro, which has a one-inch sensor and adjustable aperture at a higher price point.

Conclusion
Likes
- With the Air 2, you can shoot with more resolution or a lower resolution for faster processing and less noise.
- The Air 2’s gimbal is excellent for capturing sharp shots from the air.
- Easy to fly, I love the safety features built into the app, including geofencing and warning of nearby aircraft.
- Obstacle avoidance sensors at the front and rear can help the drone avoid large objects without pilot input.
- The folding design allows both the drone and controller to fit in a small bag designed for a mirrorless camera and one lens.
- The 33-minute battery life is good for a drone.
Dislikes
- The 1/2” sensor is small and noisy in low light. (The DJI Mavic 2 Pro has a one-inch sensor.)
- The camera defaults to a 12-megapixel mode, and none of the SmartPhoto modes are in the higher resolution.
- The 45-megapixel mode has a five-second lag before the live view in the app is updated.
- The drone lacks obstacle avoidance sensors at the sides.
- I don’t like how the drone responded after an initial bump on the tree — but I can’t say with any certainty whether it became a flyaway drone or was thrown out of balance after losing a propeller.

With several safety features, 45-megapixel images, and 4K at 60 fps, the DJI Mavic Air 2 is easily in the running for the best sub-$1,000 drone. The quadcopter is simple enough for beginners to use, with a map and warning systems built directly into the app. The Air 2 has smarter auto modes and HDR panoramas and a higher resolution than the Mini 2.
But, no drone is perfect — or without the risk of crashes and flyaways. The Air 2 still has a point-and-shoot-sized sensor, which delivers the muddied, noisy point-and-shoot look if you fly in limited lighting. The higher resolution mode is also slower. The 12-megapixel shots taken in most modes are comparable to the much cheaper Mini 2.
I crashed the DJI Air 2 — quite epically, I must add — but I would still consider buying one. It’s a great quadcopter for photographers that want high resolution without breaching the $1,000. I would, however, also get DJI Care, which costs $79 and replaces up to two drones in one year for between $69 and $99 and replaces a lost flyaway drone for $399.

I’m giving the DJI Mavic Air 2 four out of five stars. Want one? Check out Amazon for the latest pricing.