How to Photograph the Sunset with Beautiful Results (for Beginners)
Photograph the sunset with some of the gear you already have and get beautiful images every time.
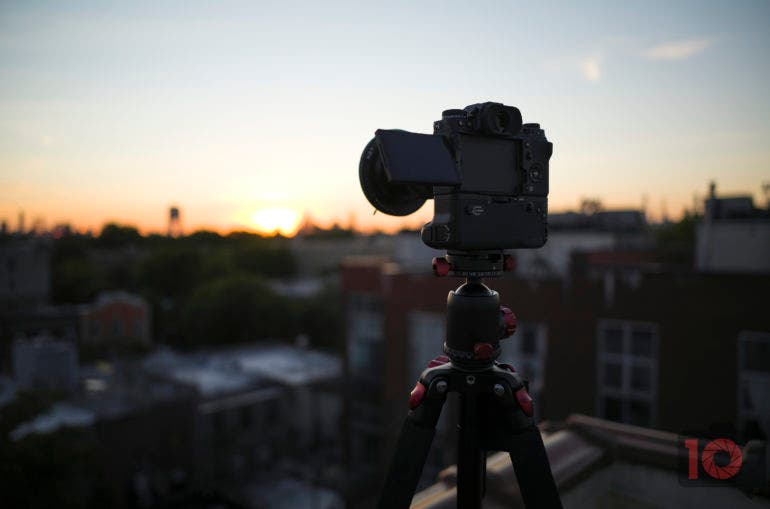
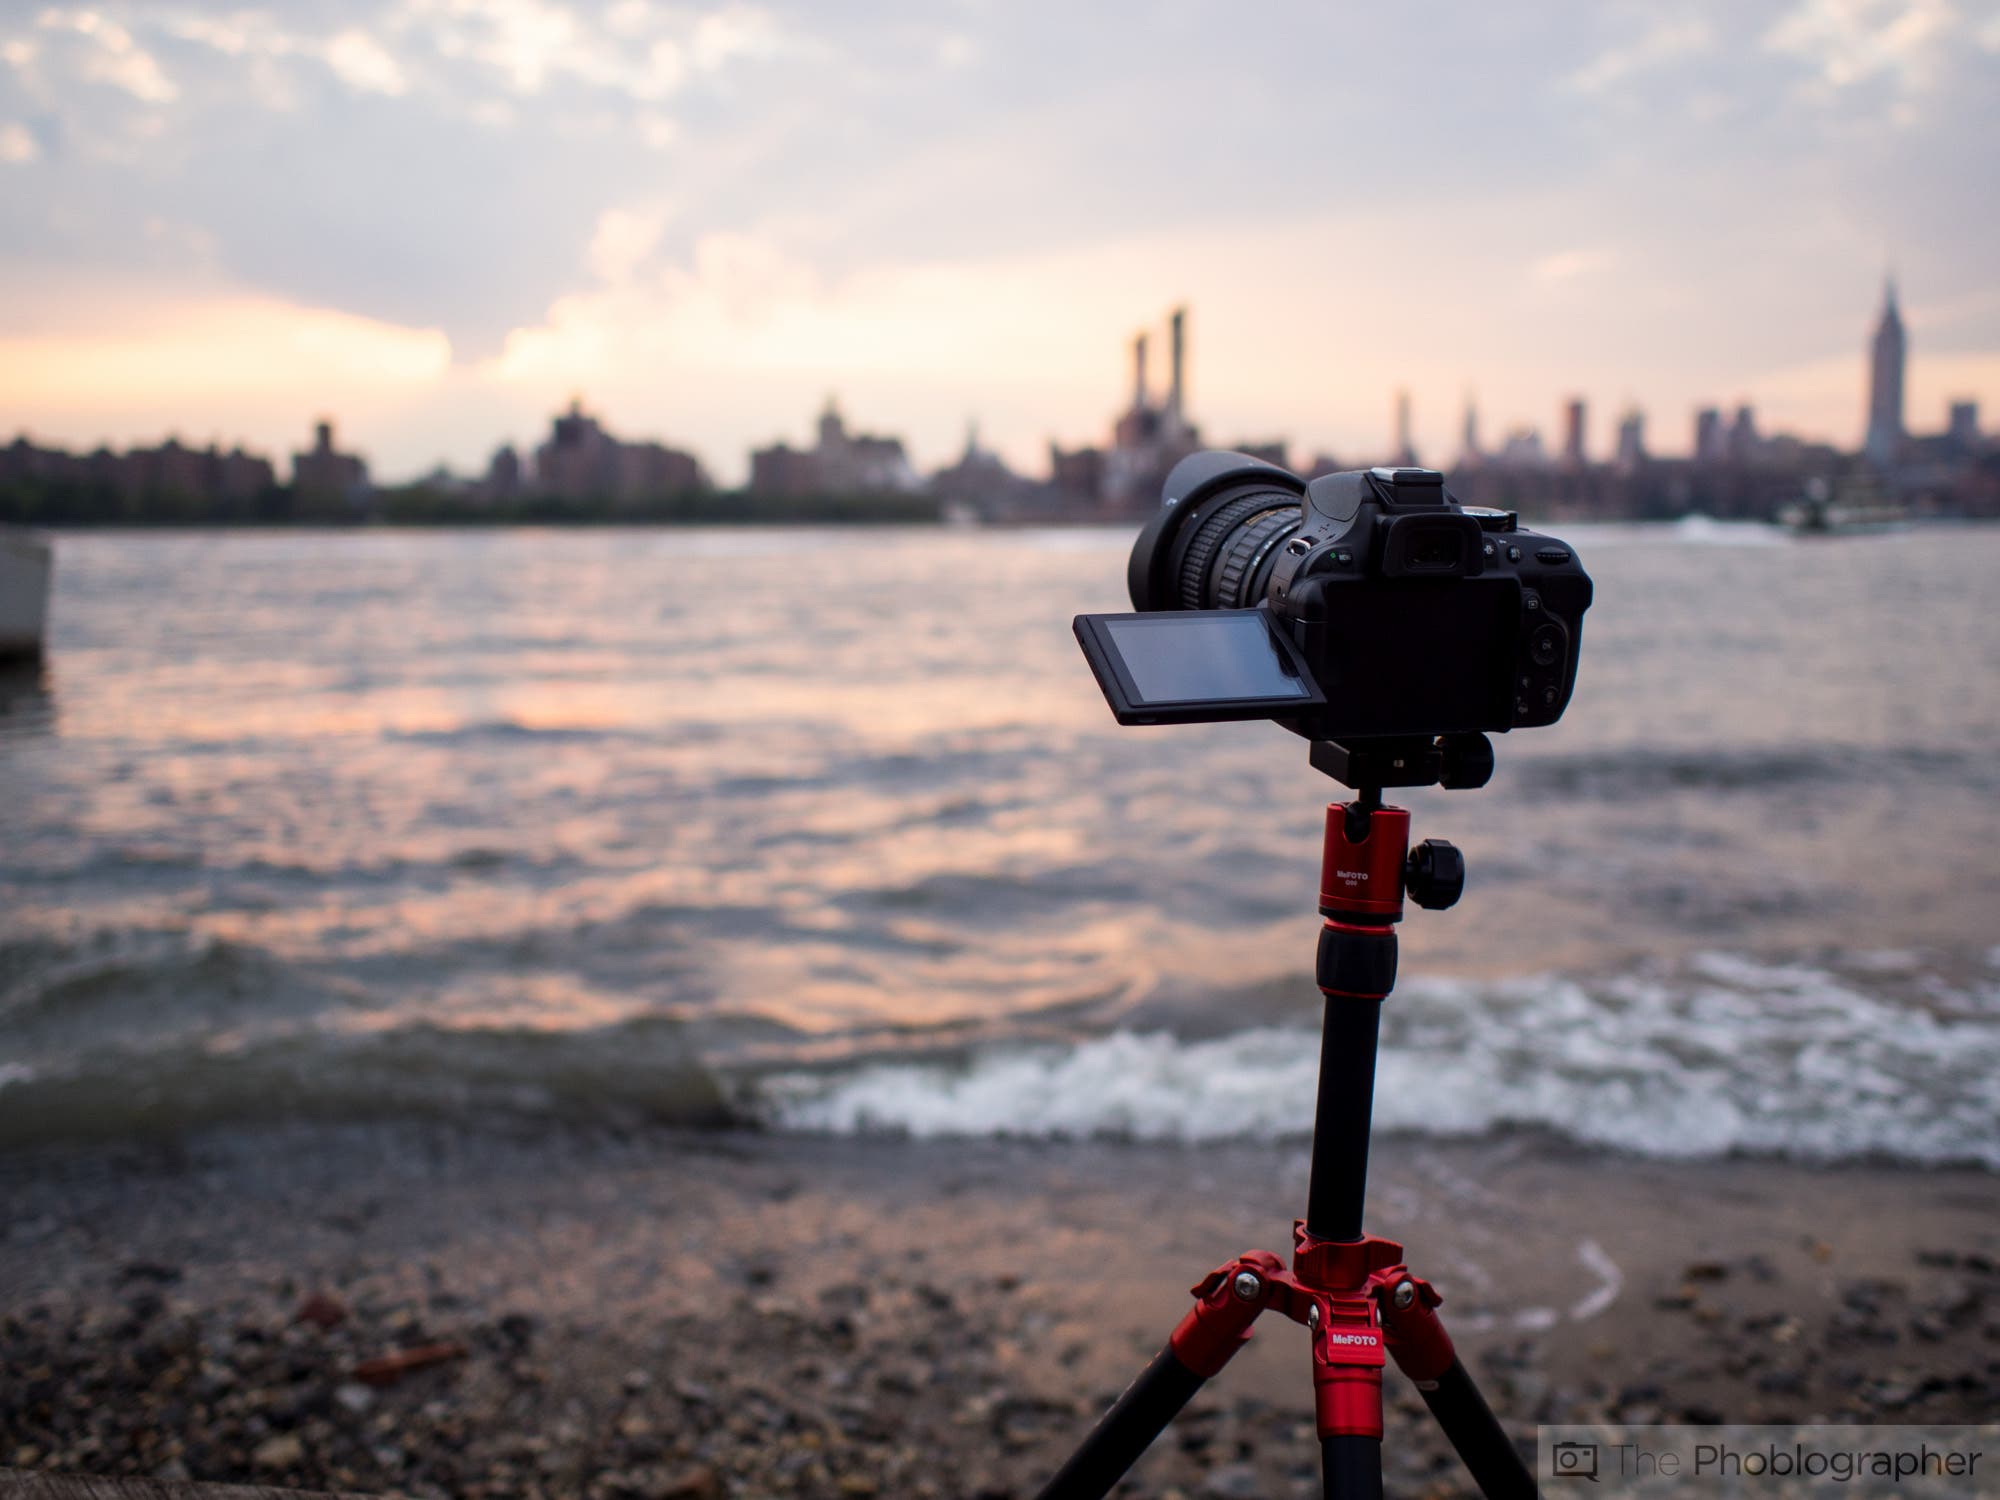
It’s that time again! Are you ready to photograph the sunset? We are too! It’s always an exhilarating time to make it happen, but how do you do it? Well, we’ve got a great tutorial just for you. If you’re using a smartphone, this will help. If you’re using a dedicated camera, we’re going to make you think totally different. Are you ready?
The Gear You Need to Photograph the Sunset
Luckily, there are a few variations of gear that you can use to shoot memorable sunset images. You can do it with your phone or with a dedicated camera. Not for nothing, but a dedicated camera is always going to do a better job.
To photograph the sunset with a phone, you’ll need:
To photograph the sunset with a dedicated digital camera, you’ll need:

Timing
First off, check your phone’s weather app. It will tell you when sunset begins. Arrive an hour early. Here in NYC, the Apple Weather app will tell me that sunset is happening at 8pm, but you’ll start to see the effects a bit beforehand. Actually, sunset is a large period of time, and you’ve got to use that time to get the image because the sun goes away afterward. Depending on the season and where you are in the city, sunset can last a long time.
The weather is also a big factor. Sometimes you don’t want to be out in the cold for too long. But if you decide to bring a thermos of coffee with you to settle in, you’ll be more comfortable.

If you’re wondering why you’re there so early, it’s because we’re giving you a blessing: a choice. If you get there early, you can scout around and figure out exactly where you want to shoot from.
Location
Personally speaking, I’m about getting up nice and high. Higher vantage points feel more dramatic and cinematic. Lower vantage points (like sea level) feel more personable. Neither one is particularly better than the other: it’s all up to the photographer. The best thing to do is to go to one location, see what the camera might give you, and choose whether or not to stay.
If you’re moving while the sunset is happening, you’re going to lose precious time. The sunset, again, seldom lasts that long.
Tips on How to Photograph the Sunset
So here are some essential tips for photographing the sunset:
- Set your lens to f5.6 to f11. That’s easier to do if you have a dedicated camera. If you’re using your phone, don’t worry. This is mostly to control the depth of field (how much of the scene is in focus).
- Lower your ISO. ISO 100-400 should be more than enough for a dedicated camera. For a phone, set it no higher than ISO 400. Otherwise, you’ll probably get some grain and other color issues. Most phone cameras have sensors made by Sony. Sony sensors tend to make images look oversharpened and crunchy.
- Set your camera’s dynamic range to auto mode or the maximum. Yes, this goes for both dedicated cameras and phone cameras. You might be saying that it won’t matter because you’re shooting RAW. And that’s where I’ll echo the words of Batman to Superman, “If we had a week, I couldn’t list all the reasons that won’t work.” Your dedicated camera surely does have versatile RAW files. But they have to capture the information to begin with. Maximizing the dynamic range will create a flatter image while giving all the details. This is a great way to avoid bringing a graduated Neutral Density filter with you. It’s also a tip most people forget about when they go to photograph the sunset.
- If you have a graduated neutral density filter, make sure Live View preview is on. Essentially, you need to see a preview of the exposure. Slide the ND in front of the lens, and you’ll be able to see how it’s affecting the scene. Move the darker area so that it’s over the sky and the sun: this will bring the details back. Then expose for an area in the shadow or a bit under that.
- Lock your white balance. A lot of you folks might say, “Oh, but I’ll do that in post-production.” Again, it’s better to have the colors to begin with. Want the film look? Set the camera to 3200 Kelvin (Tungsten) or 5500 Kelvin (Daylight) for those colors. Tungsten will make the world look a lot bluer. Daylight will make it a lot warmer.
- If your camera has a clarity setting, turn it on or crank it up a bit. It will apply to the RAW file.
- Choose a color profile. If you’re using Fujifilm cameras, go for Velvia. Otherwise, choose a landscape profile and adjust the saturation and contrast in the profile to your liking.
- Put the horizon above or below the center of the frame.
We Don’t Need No Photoshop!
If you follow these steps, you won’t need to do anything to the image. And you can beam it to the web to share immediately with friends and family. Think of it this way: to get the same effect, would you rather do 20 minutes of work or an hour of work? Obviously, it’s more efficient to do 20 minutes of work. And that’s what we’re talking about in this tutorial.
Happy shooting!


