4 Essential Tutorials Using a 35mm Lens to Shoot Great Portraits
There isn’t a thing a 35mm lens can’t do, and it’s great for portrait photography!
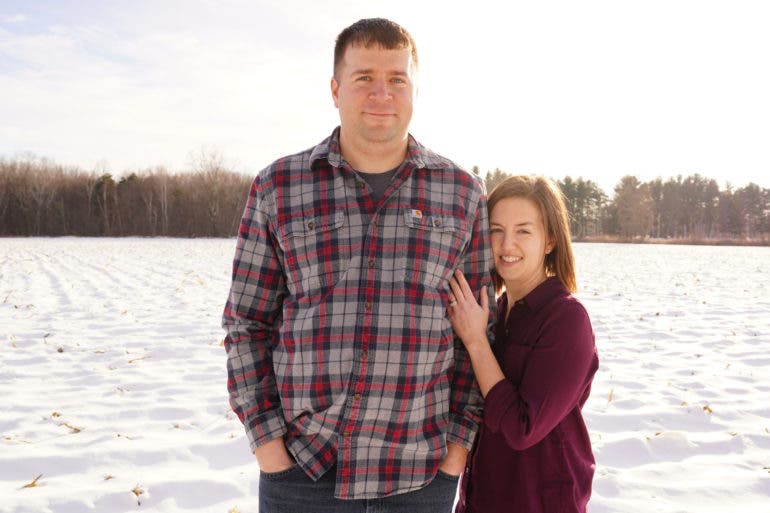
Why are 35mm portrait lenses so good at shooting portraits? There are lots of ways to answer that. They’ve become outstanding over the past few years. It’s arguably hard to take bad photos of people with them. One of the best things about 35mm lenses is that you need to keep a distance. They’re fantastic at shooting someone full-body style or doing an environmental portrait of some sort. And if you need a slower shutter speed, they’re typically easy to handhold. Here are some essential tutorials just for you.
Check out some of our Favorite 35mm Lenses for Portraits in our Amazon Camera Shop.
A Cheat Sheet: Shooting Portraits with a 35mm Lens

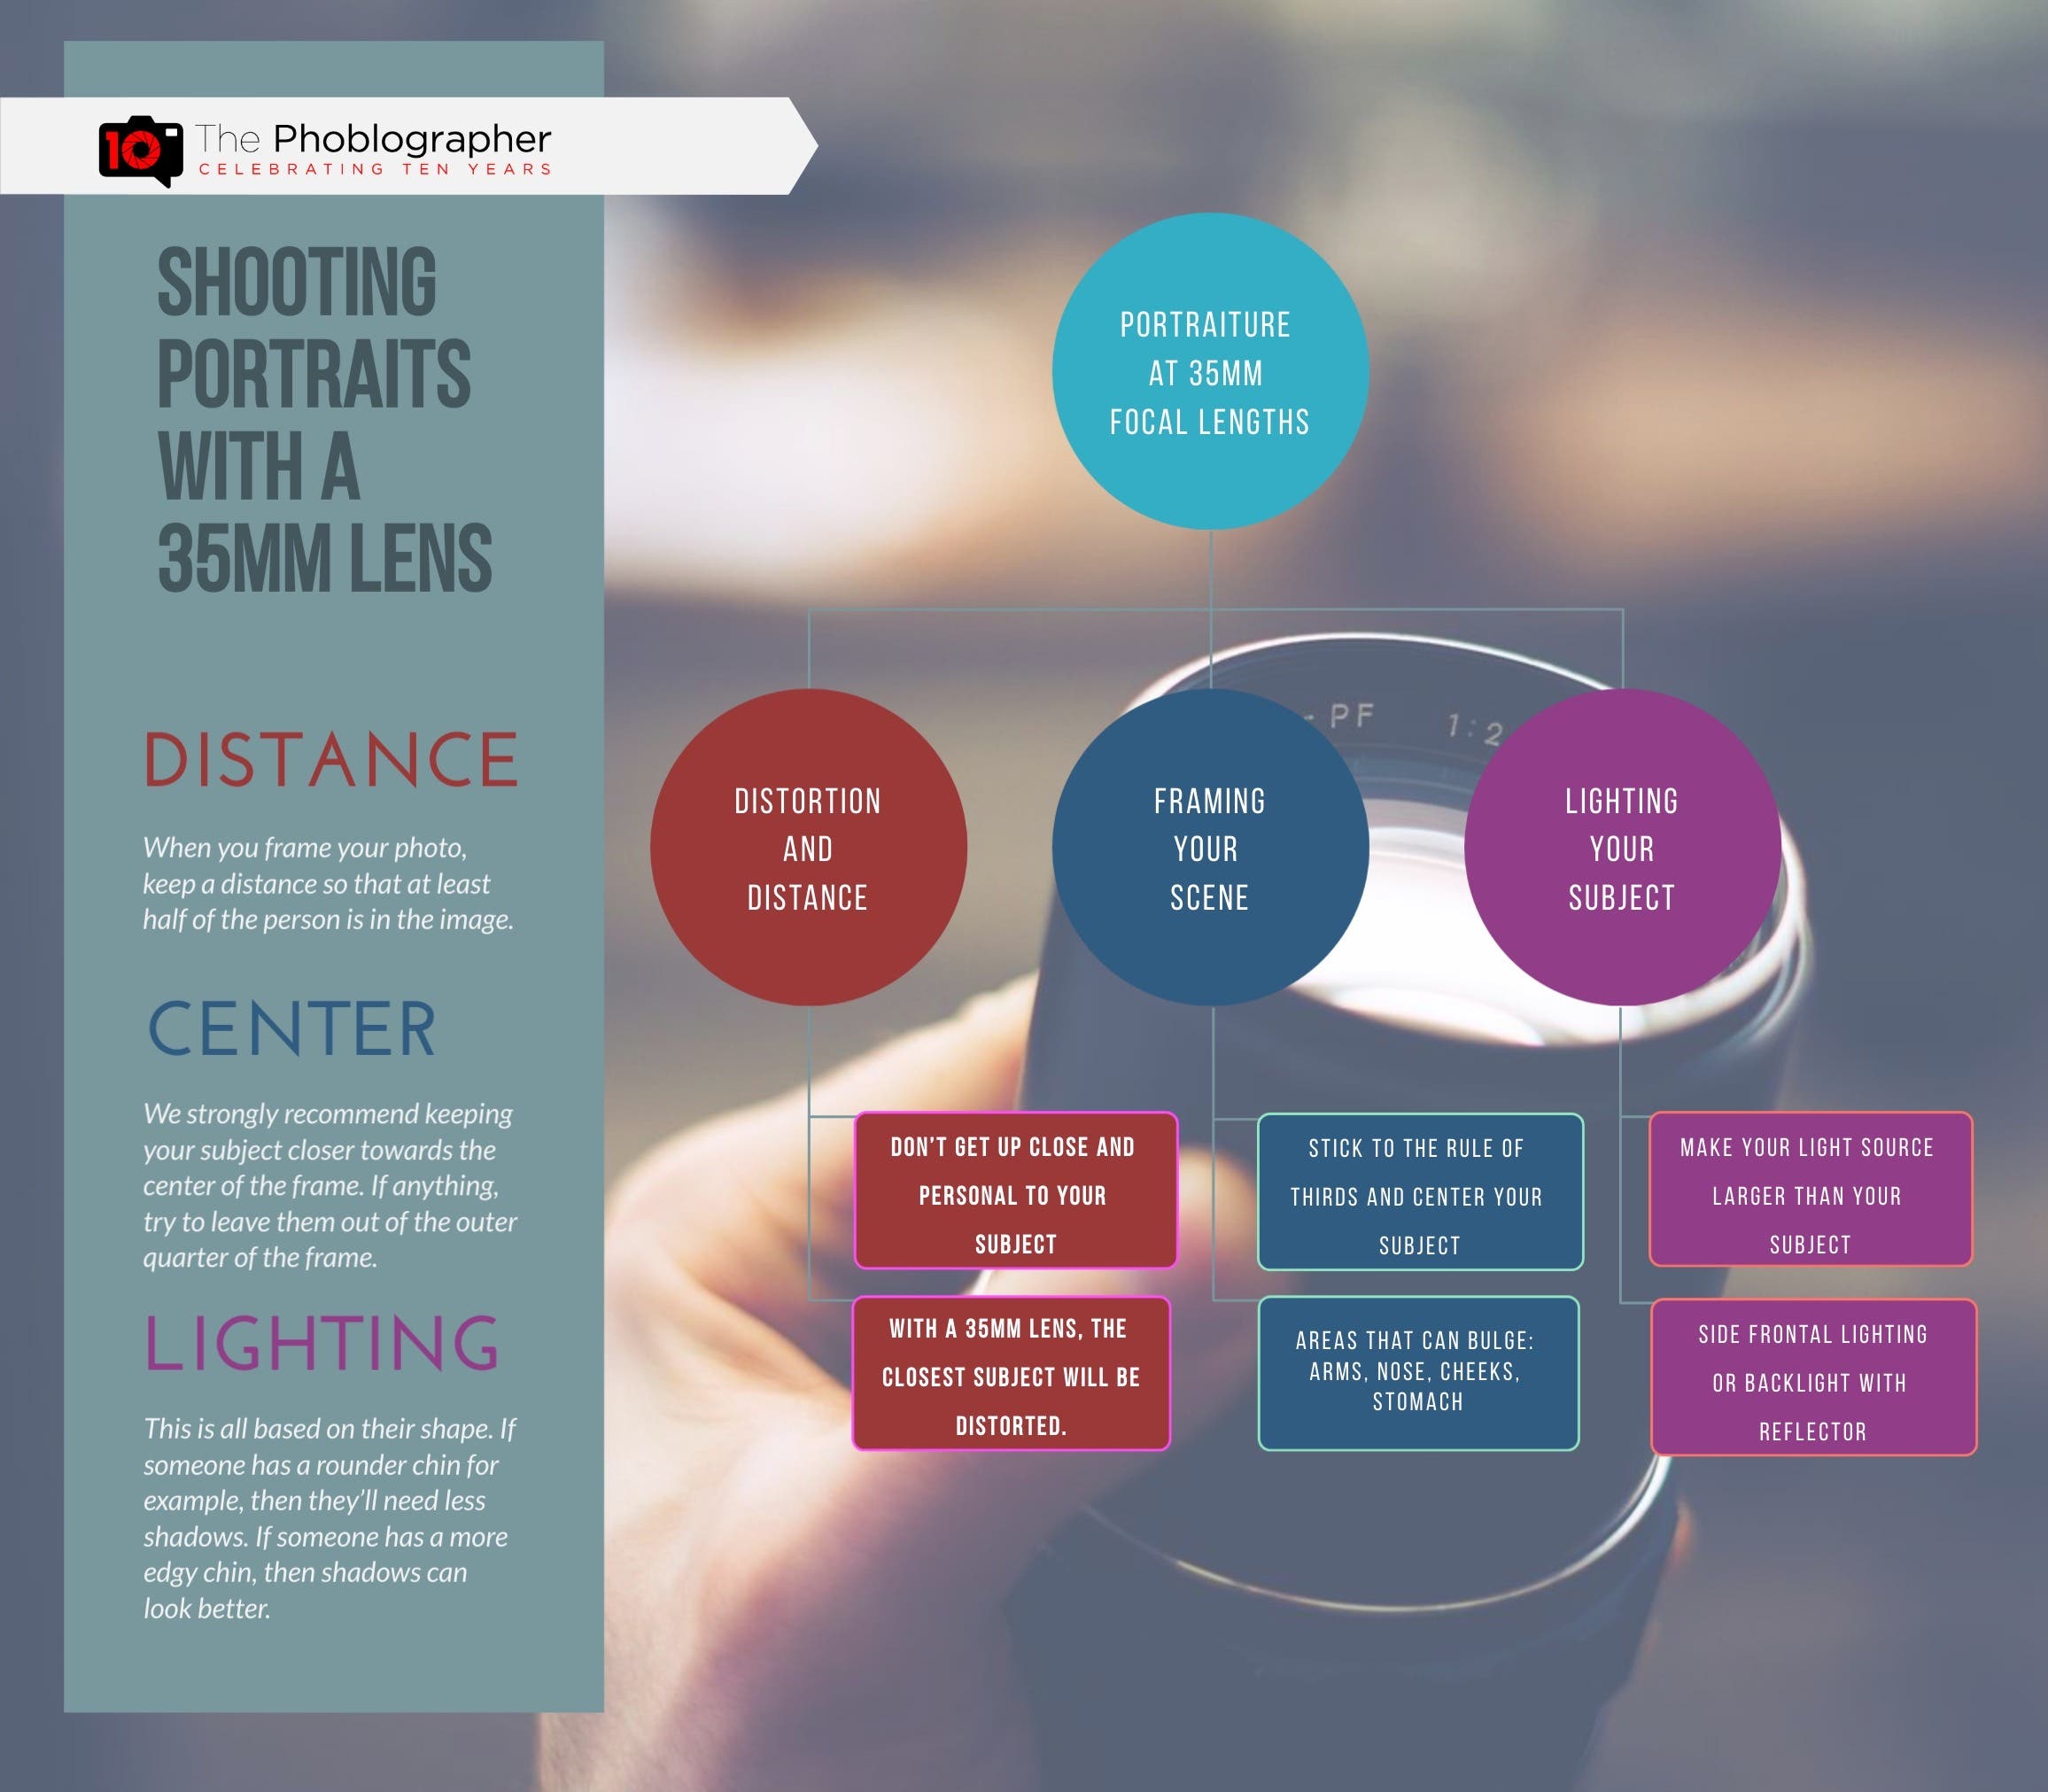
A while back, we made this cheat sheet for photographers that tells you all about some of the most important things to worry about. Something that we’re not talking about in this post is lighting, but lighting is everything in portraiture. Lighting helps you find ways to tell stories, and it tells people where to pay attention.
Proximity Distortion

This has various names, but the basic concept is to keep a distance. Get too close, and suddenly someone’s nose will look huge. Even with newer lenses, it’s bound to happen just because of what the focal length is. The 35mm lens is best suited for photographs of at least 1/4th of a person.
In our tutorial, we state:
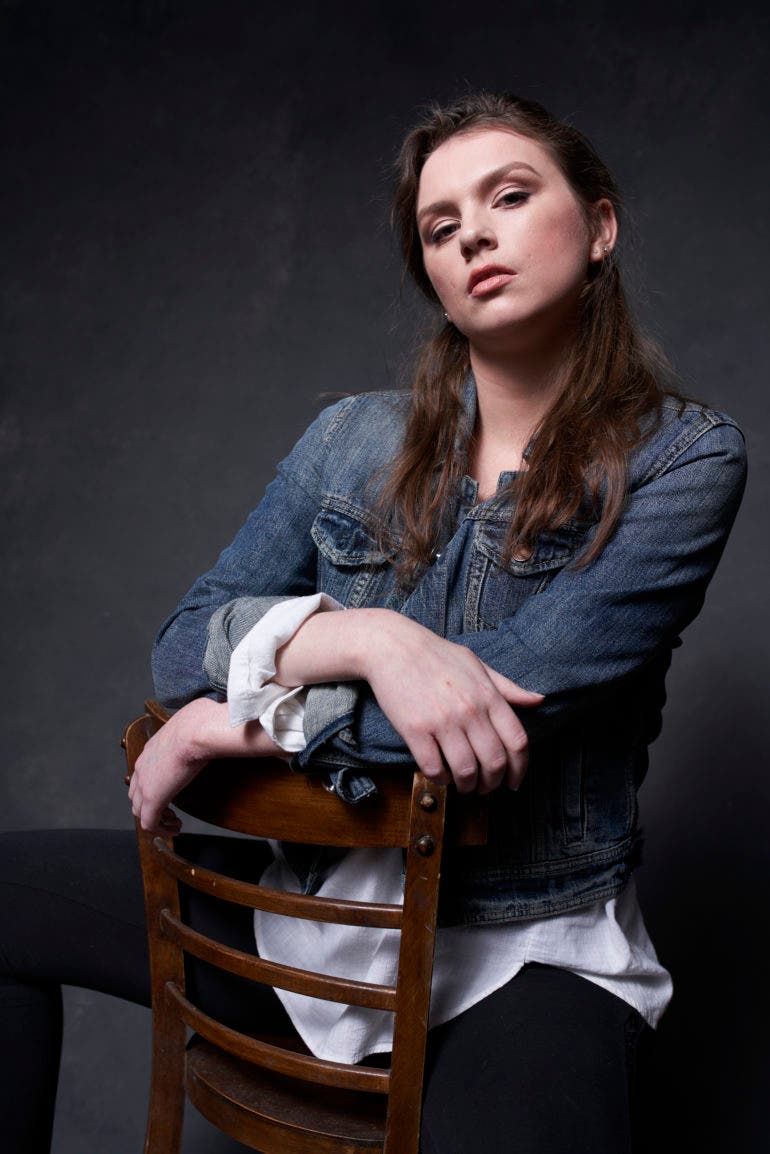
“Remember that when you shoot with a 35mm lens, whatever is closest to the frame will be distorted. In some cases, that’s okay and it can be rather acceptable. Depending on who you ask about the image above, the distortion of the subject’s arm is either perfectly fine (no distortion), or there is some and it’s unflattering. All of this has to do with posing.”
Be Wary of Bulges

Everyone has bulges and curves: be wary of them and how they stick out with a 35mm lens. Change up your subject’s pose to adjust how these appear in photographs. Keep an eye on all parts of your subject. Look at what the problem is and figure out how to fix it.
In our tutorial, we state:
“…but you’d be amazed at how much a lens can emphasize them. For example, if your subject is sitting back in a seat, then the weight is being put on not only their buttocks but also on their thighs, which makes them look larger. So it’s always a great idea to have them sit on the edge of the seat.”
The Center of the 35mm Frame Is King

Generally speaking, the center of the frame is the best place to position your portrait subjects. It’s the least distorted area of the frame, and it’s also always going to look wonderful. If you need to, forget about the rule of thirds: just focus on making someone look great!
In our tutorial, we state:
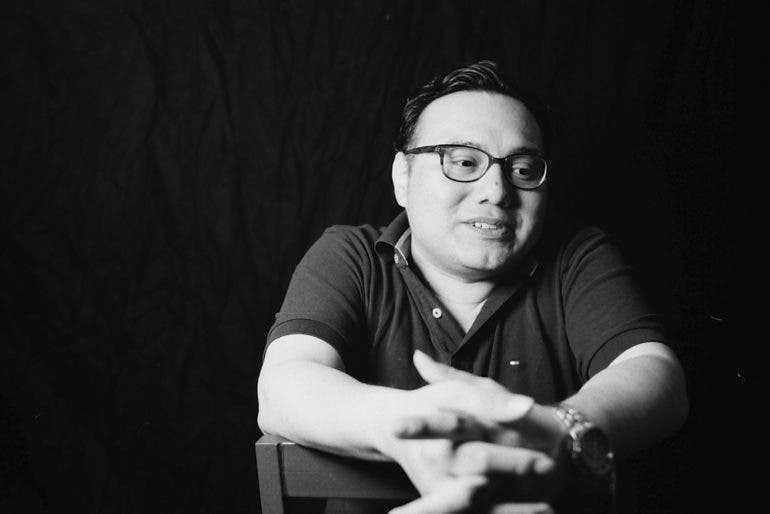
“When using 35mm primes for portrait photography, it is best to keep your subject as close to the middle of the frame as possible. The reason for this is distortion. I’m not talking about distortion from being too close to your model, I’m talking about the natural distortion wider lenses will have around the edge of the frame. This is not as big of a problem as it used to be, and most distortions can be corrected during post, but you want to do all you can to minimize distortions that can affect the size and shape of your subject. So, remember, subject, center, profit!”