How to Get More Vivid Colors From Your Camera Without Post-Production
For more tips like this, please subscribe to The Phoblographer.
There isn’t anything better than getting great colors in camera and not needing post-production on a photo. Vivid colors are certainly possible to achieve, but most people don’t know how to get them. Many times, people end up just ignoring it altogether. We know a few tricks, though. So we’re going to explain how you get more vivid colors. And we’re also going to share what we know about how this all works.
Your Camera’s Color Profiles
Start out by looking at the various camera profiles you’ve got on your camera. They may be called things like Velvia, Vivid, Landscape, Deep, etc. Lots of cameras have the option of building on these profiles. If you do so, max out the saturation to your desire and bump the contrast a tad. This will make the images pop more with color.
For years, it was thought that the edits you make here only apply to the JPEG files. But that’s not so true anymore. You can do more in Adobe Lightroom, but you’ll get the maximum benefit from Capture One in most cases. Fujifilm profiles apply to most of their modern cameras. Canon’s profiles also apply for the most part. So too do Sony’s, Nikon’s, and Leica’s. Indeed, those JPEG-only days are mostly over.
Not for nothing, but there’s also no problem with being a JPEG shooter. It just means you’re more skilled.
A Polarizing Filter
Here’s a trick people don’t think about: using a Polarizing filter. Photographers think all a Polarizing filter offers is the dehaze effect. But that’s not totally true: it also adds contrast and boosts the colors in a scene. Granted, in some cases, it will cut down on a stop of light. But you can easily compensate for that in digital photography. Using a Polarizing filter on the highest effect will yield you more vivid colors. It’s only one reason why they’re so popular with landscape photographers photographing water bodies.
A Flash and Overpowering Natural Light

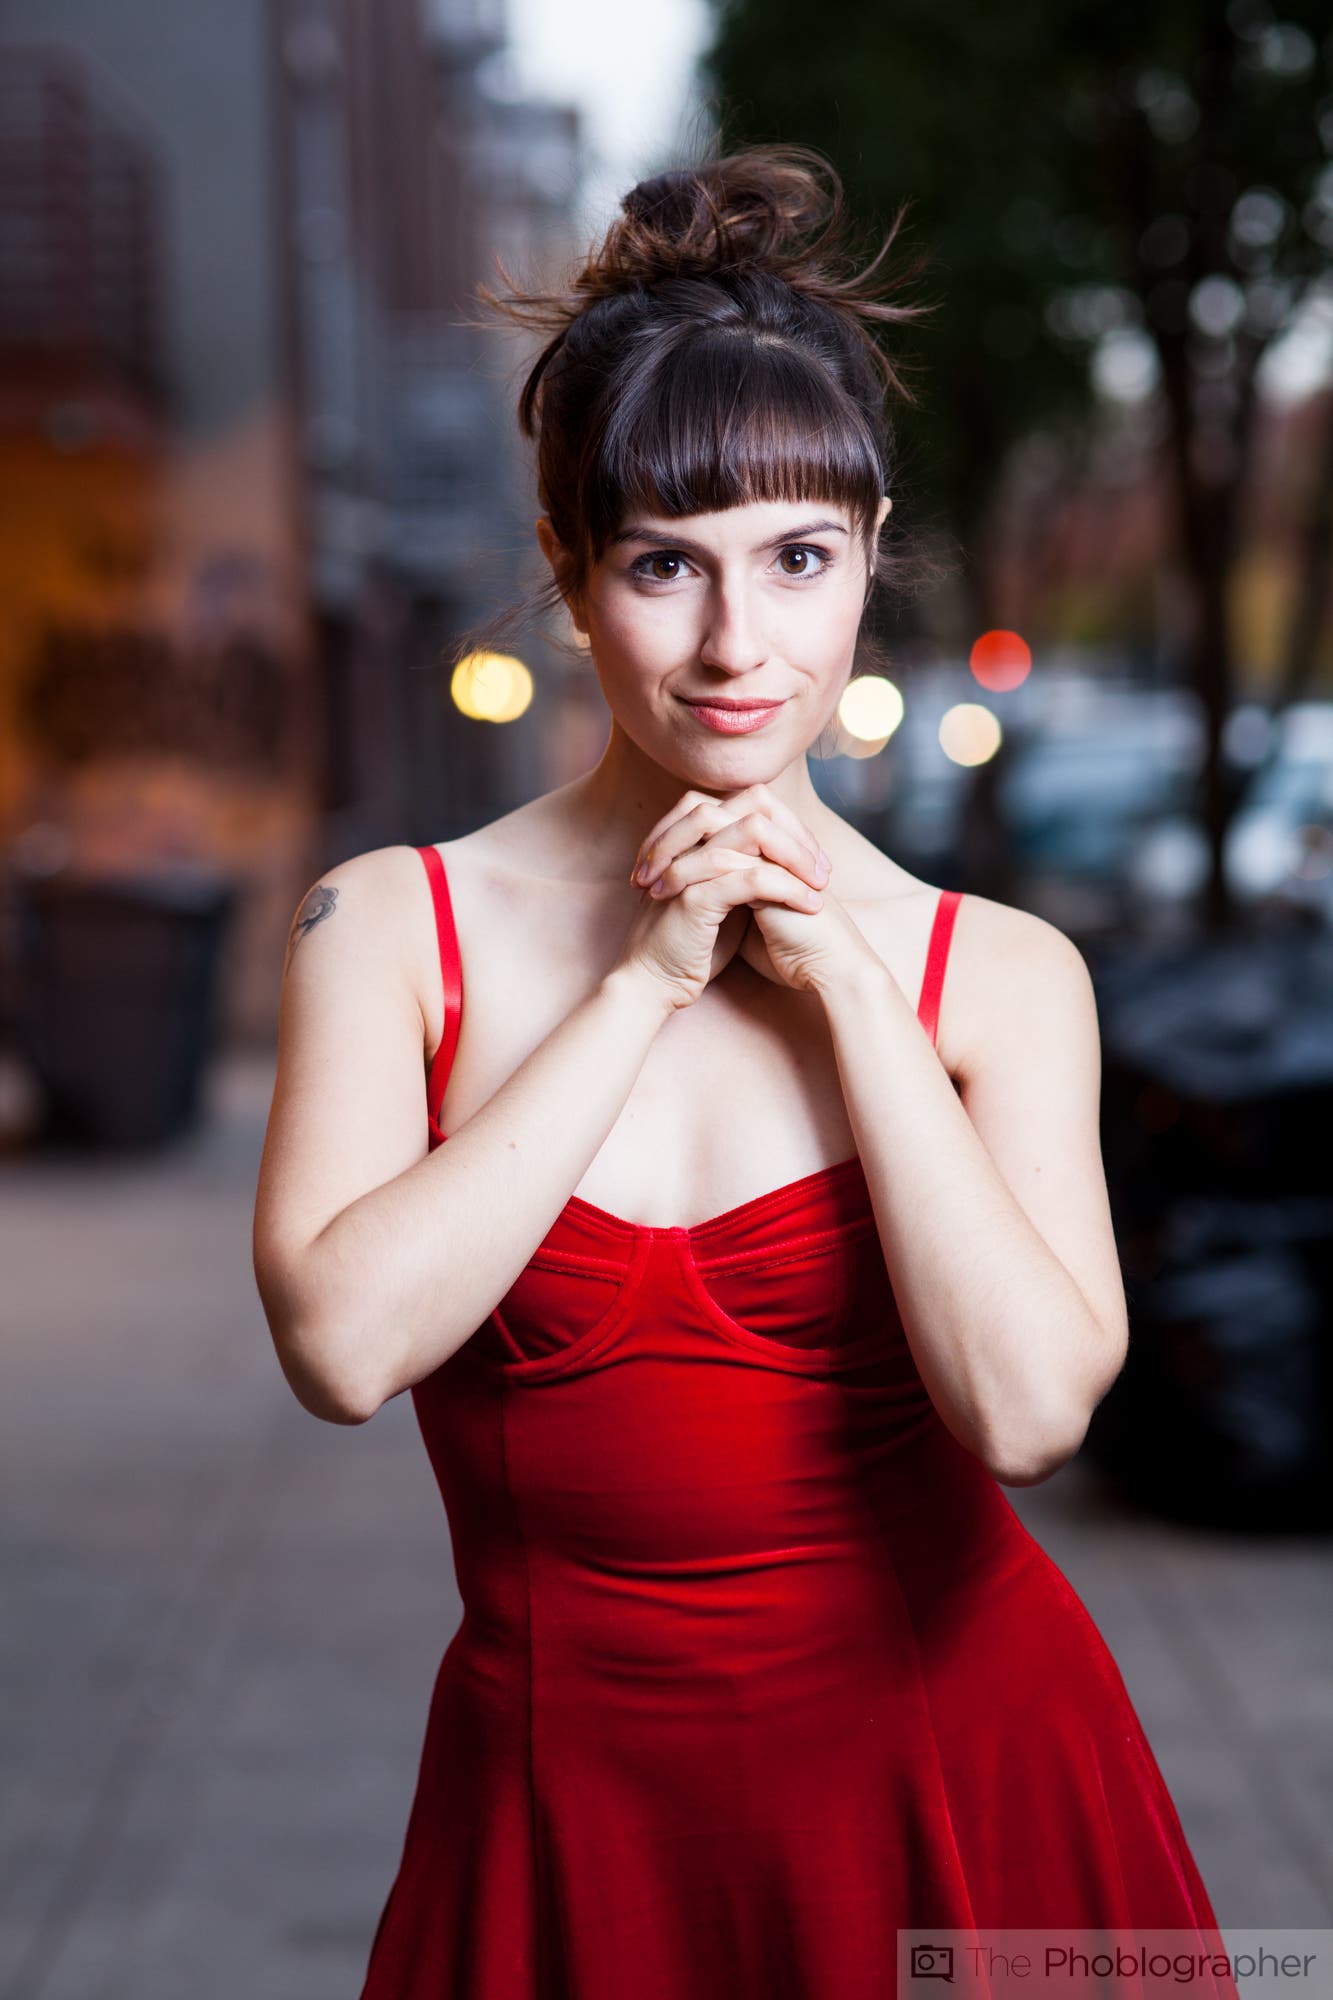
My favorite tip of all has to do with using a flash. Essentially, you have to overpower natural light and make your flash the dominant light source. In the image above, I overpowered the natural lighting. To do that, remember this combination:
- Shutter speed controls the ambient light
- Aperture controls the effects of the flash
- ISO controls the overall sensitivity of the scene
There are two ways this can work.
- High-speed sync: This lets you shoot at a faster shutter speed and kill more ambient light.
- Fast flash duration: Typically only possible with studio strobes that also end up killing ambient light if you’re at max flash sync shutter speed.
The way this works is by creating a more high-contrast image. You’re killing the ambient light (making it darker) and then introducing a new key light (making it brighter); the two work against each other. But it can make more vivid colors with the right settings.


